I tried a few things on this cinnamon roll recipe and they turned out great!
This isn't my "normal" one (and I'll blog that one later), but these turned out so good, so yummy and so soft!
I used my Kitchenaid on these, so this recipe is geared toward that. If making without a Kitchenaid, just knead by hand instead of using a dough hook.
**A word about YEAST**
Yeast comes in a few general "types". Different yeast "activates" using different methods, so it's important to use the type of yeast that a recipe calls for (or study up on how to interchange the different types).
There's "active dry yeast" (this is the normal, old fashioned yeast), "instant yeast" and "bread machine yeast".
For this recipe, use "active dry yeast" (I prefer Redman's).
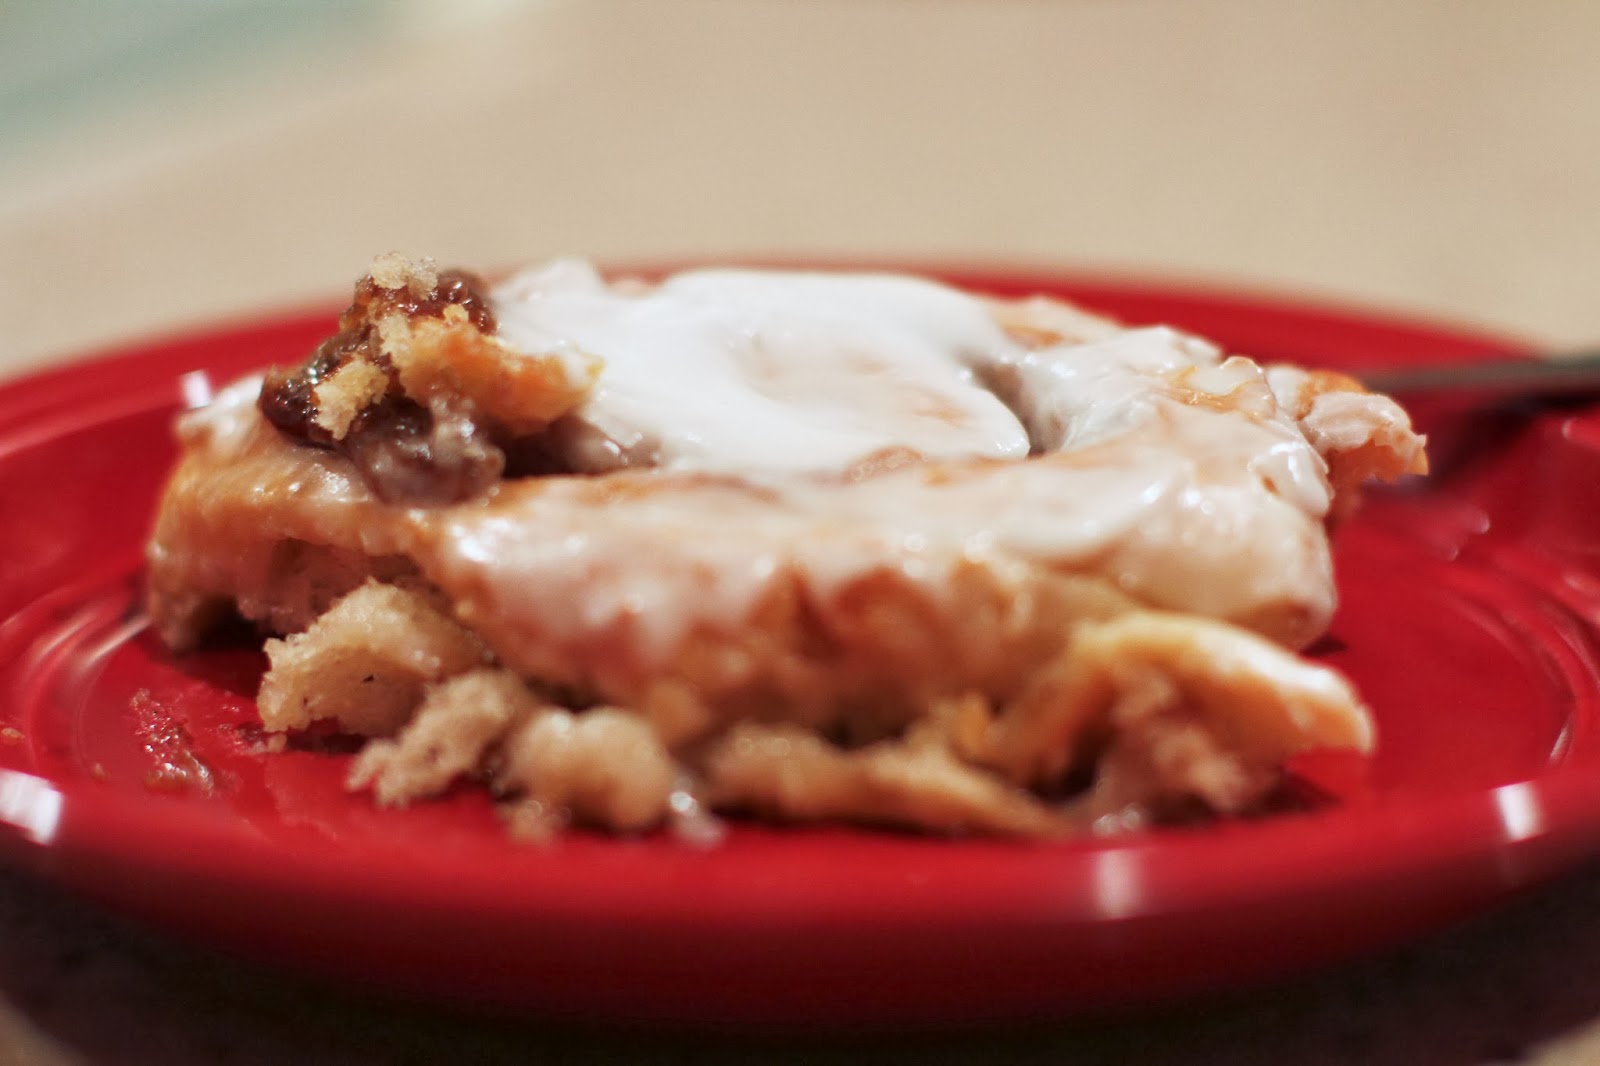
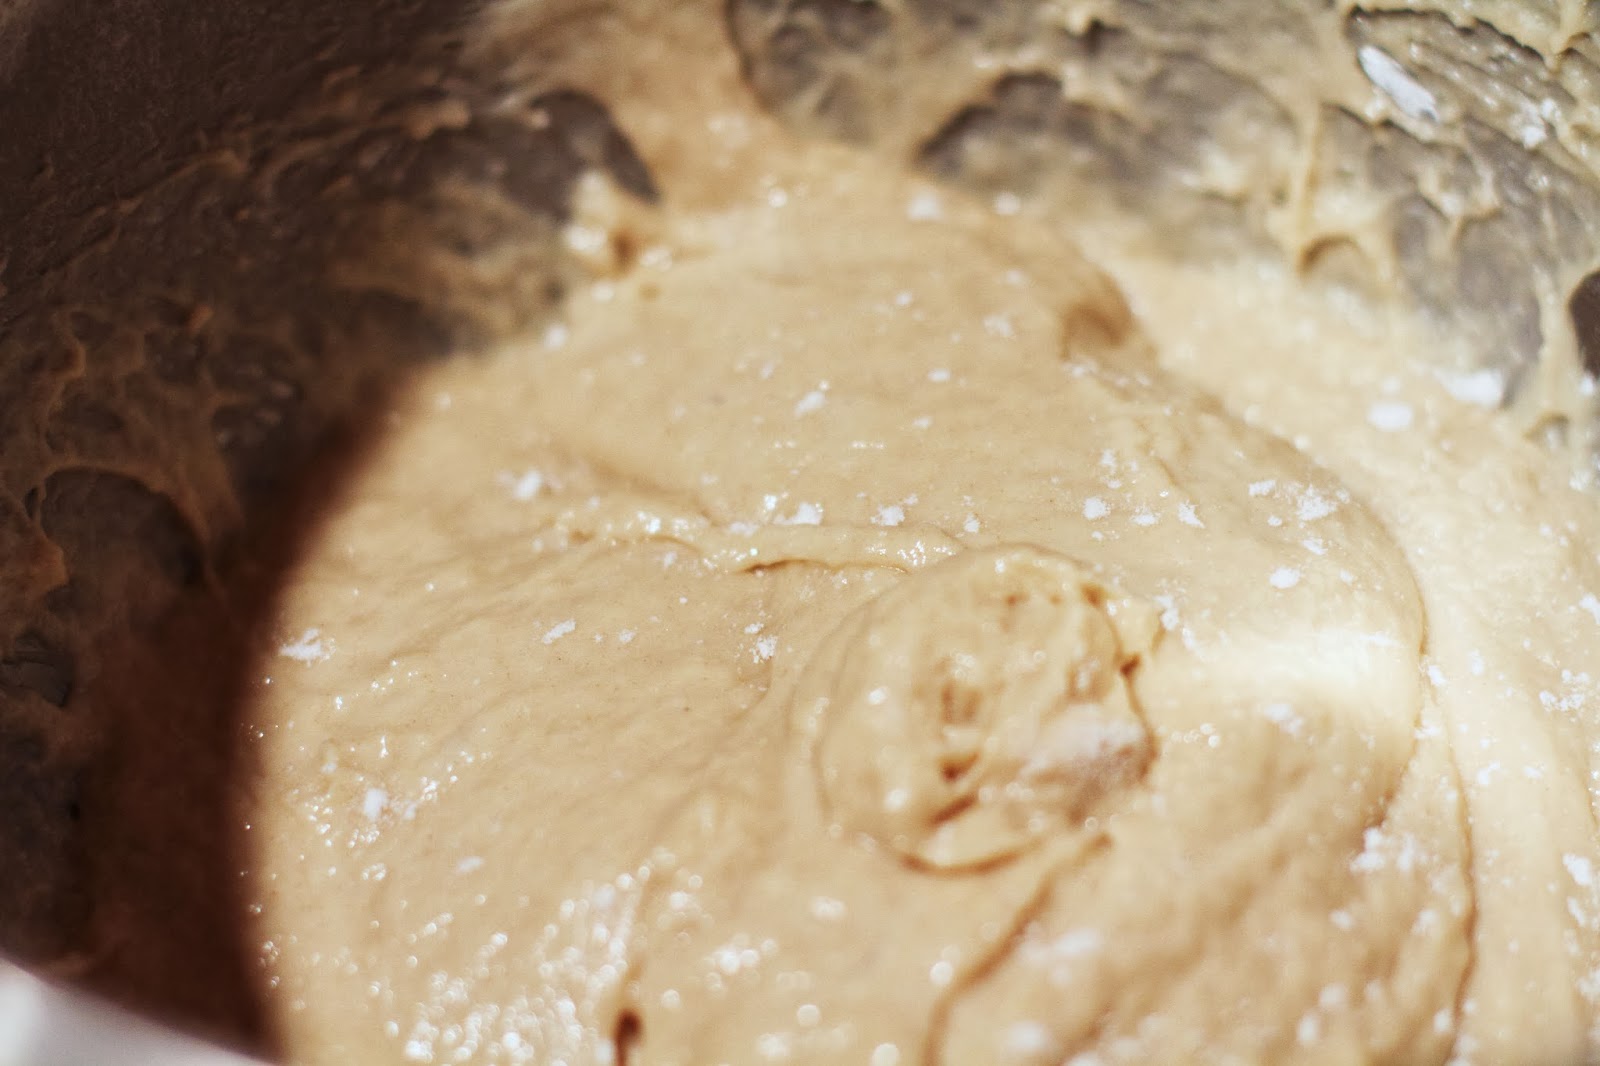
Is this some gooey goodness or what?
This is what you'll need for the "roll" part of your cinnamon rolls:
1 1/2 TBSP active dry yeast
1 1/2 TBSP granulated sugar
1/2 cup warm water
1/2 cup (1 stick) butter
3/4 cup warmed milk (I used almond milk)
3/4 cup granulated sugar
1 large egg
4 cups all purpose flour
1 tsp salt

Just go ahead and knock the yeast part out right off the bat.
In your Kitchenaid mixer bowl, gently mix (with a spoon) 1 1/2 TBSP active dry yeast, 1 1/2 TBSP granulated sugar and 1/2 cup warm water**
To activate the yeast, the water needs to be around 115 degrees F. This is slightly warmer than lukewarm. I always stick my meat thermometer in my measuring cup, just to double check.
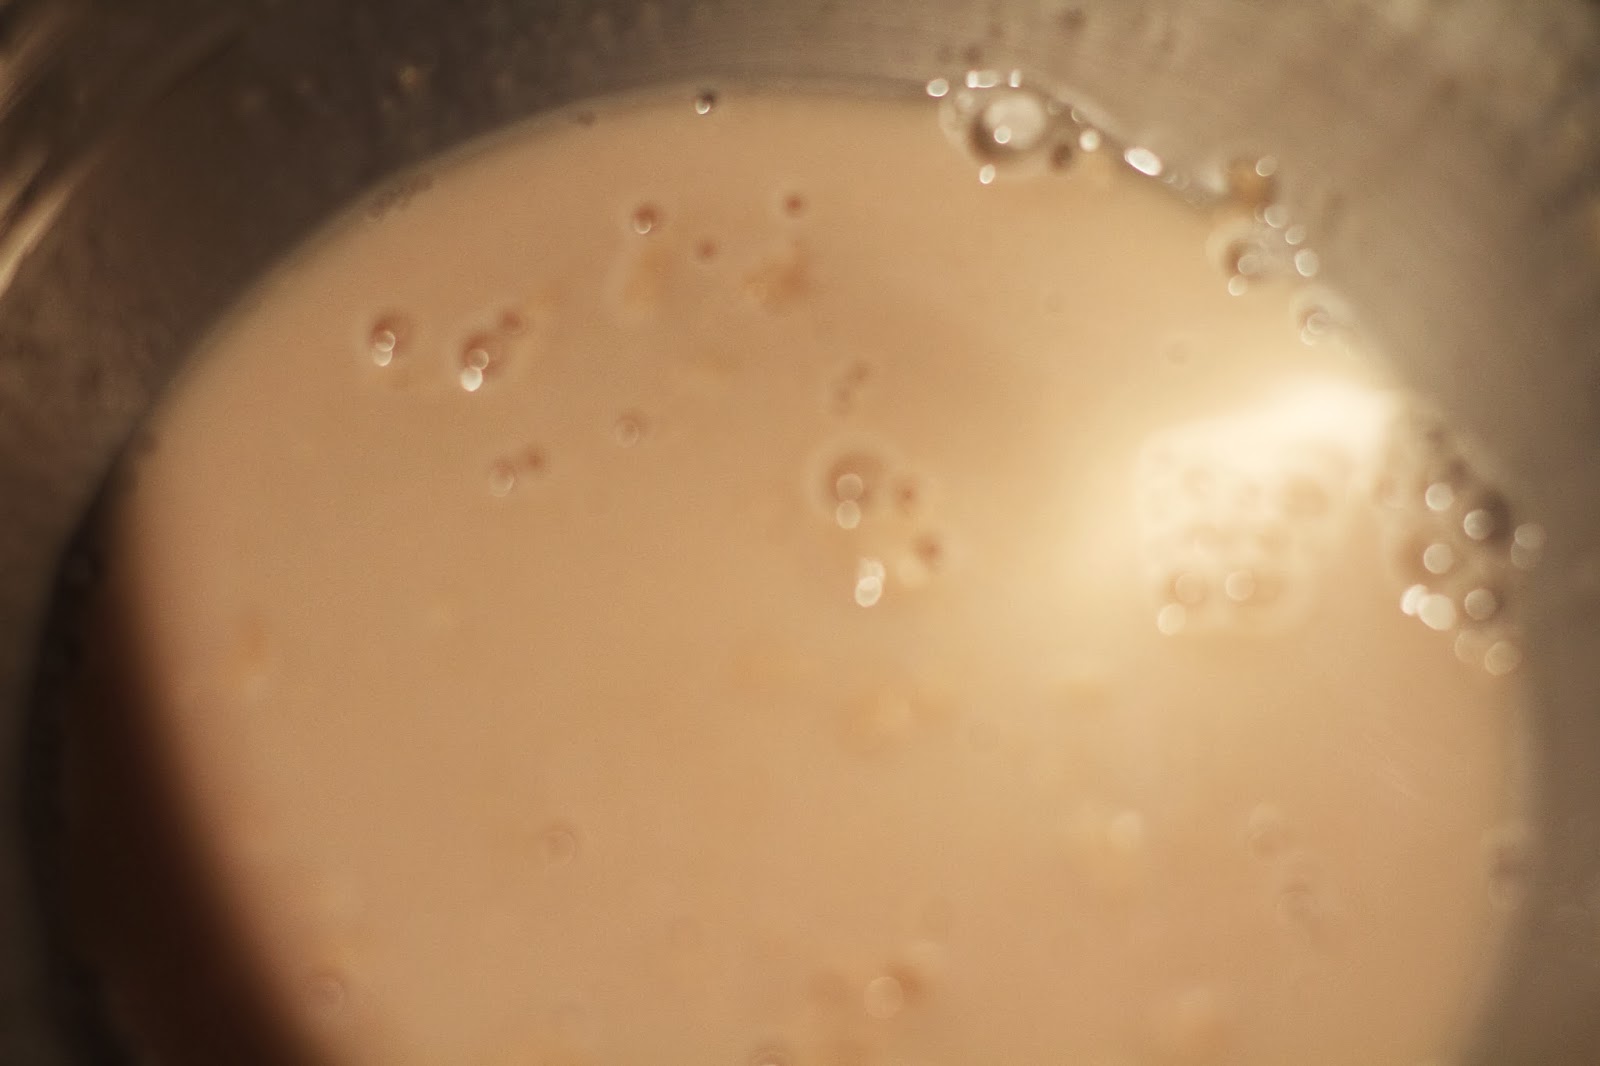
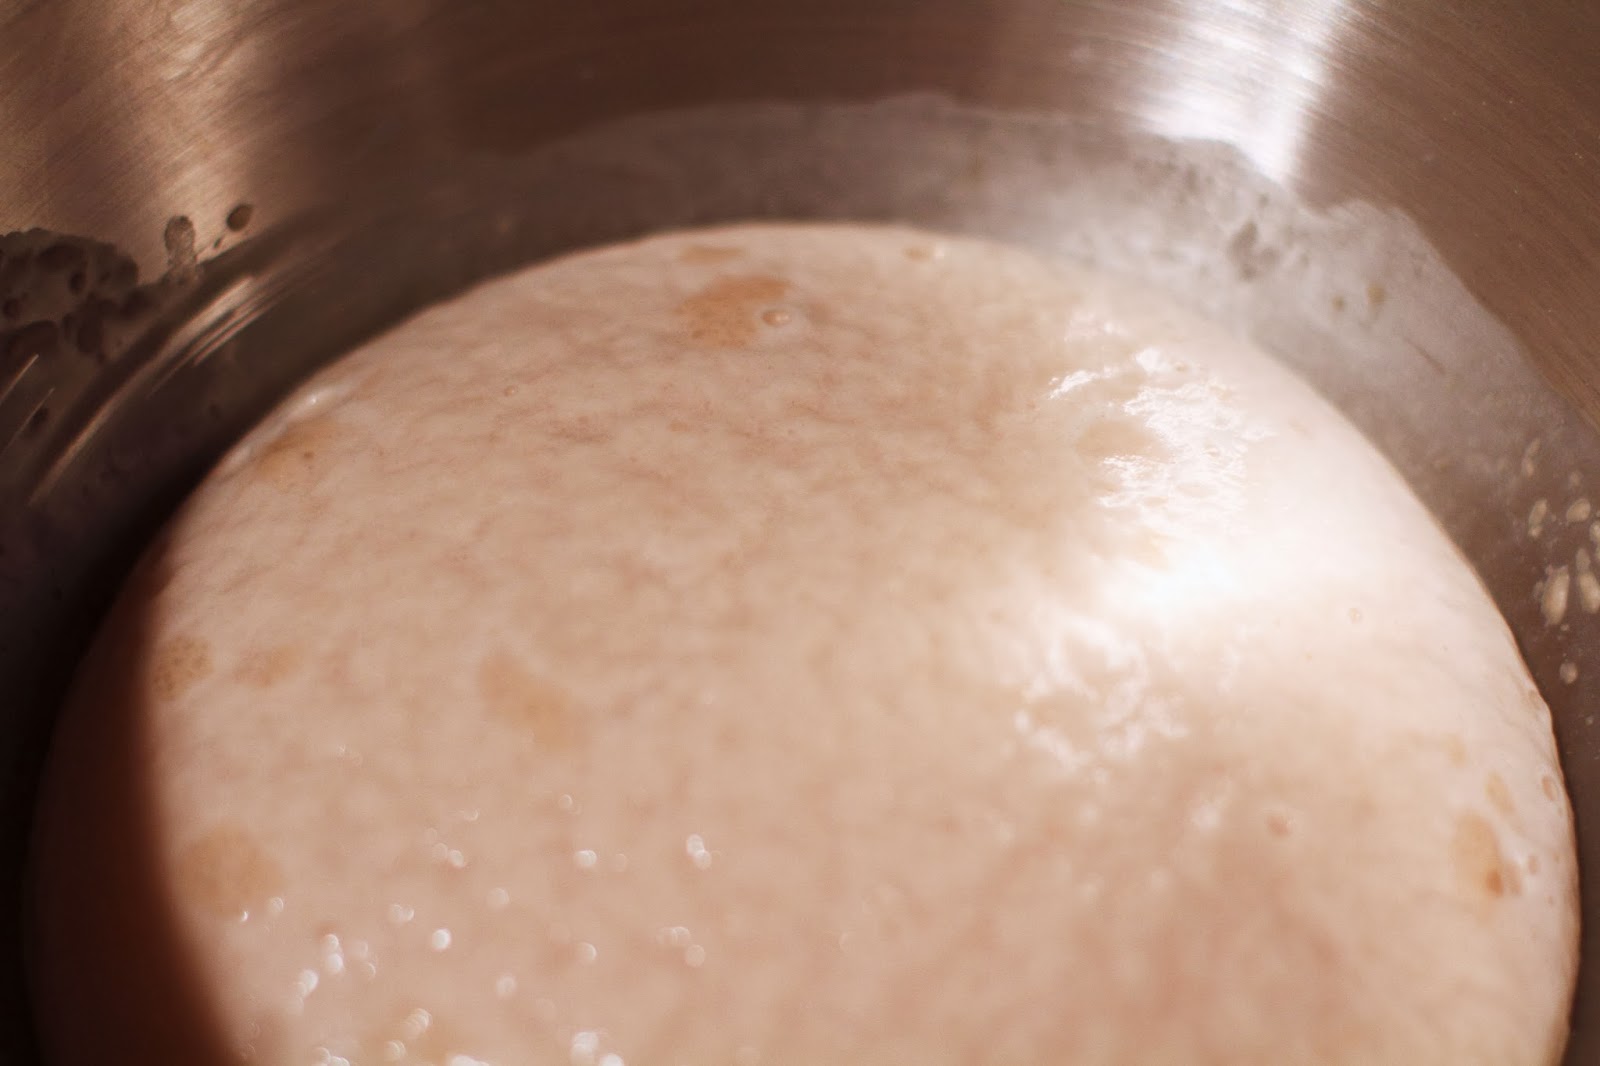
Allow your yeast mixture to sit until it "proofs" and "activates".
It will take 8-10 minutes and will double in size and foam.
That's when you know it's ready.
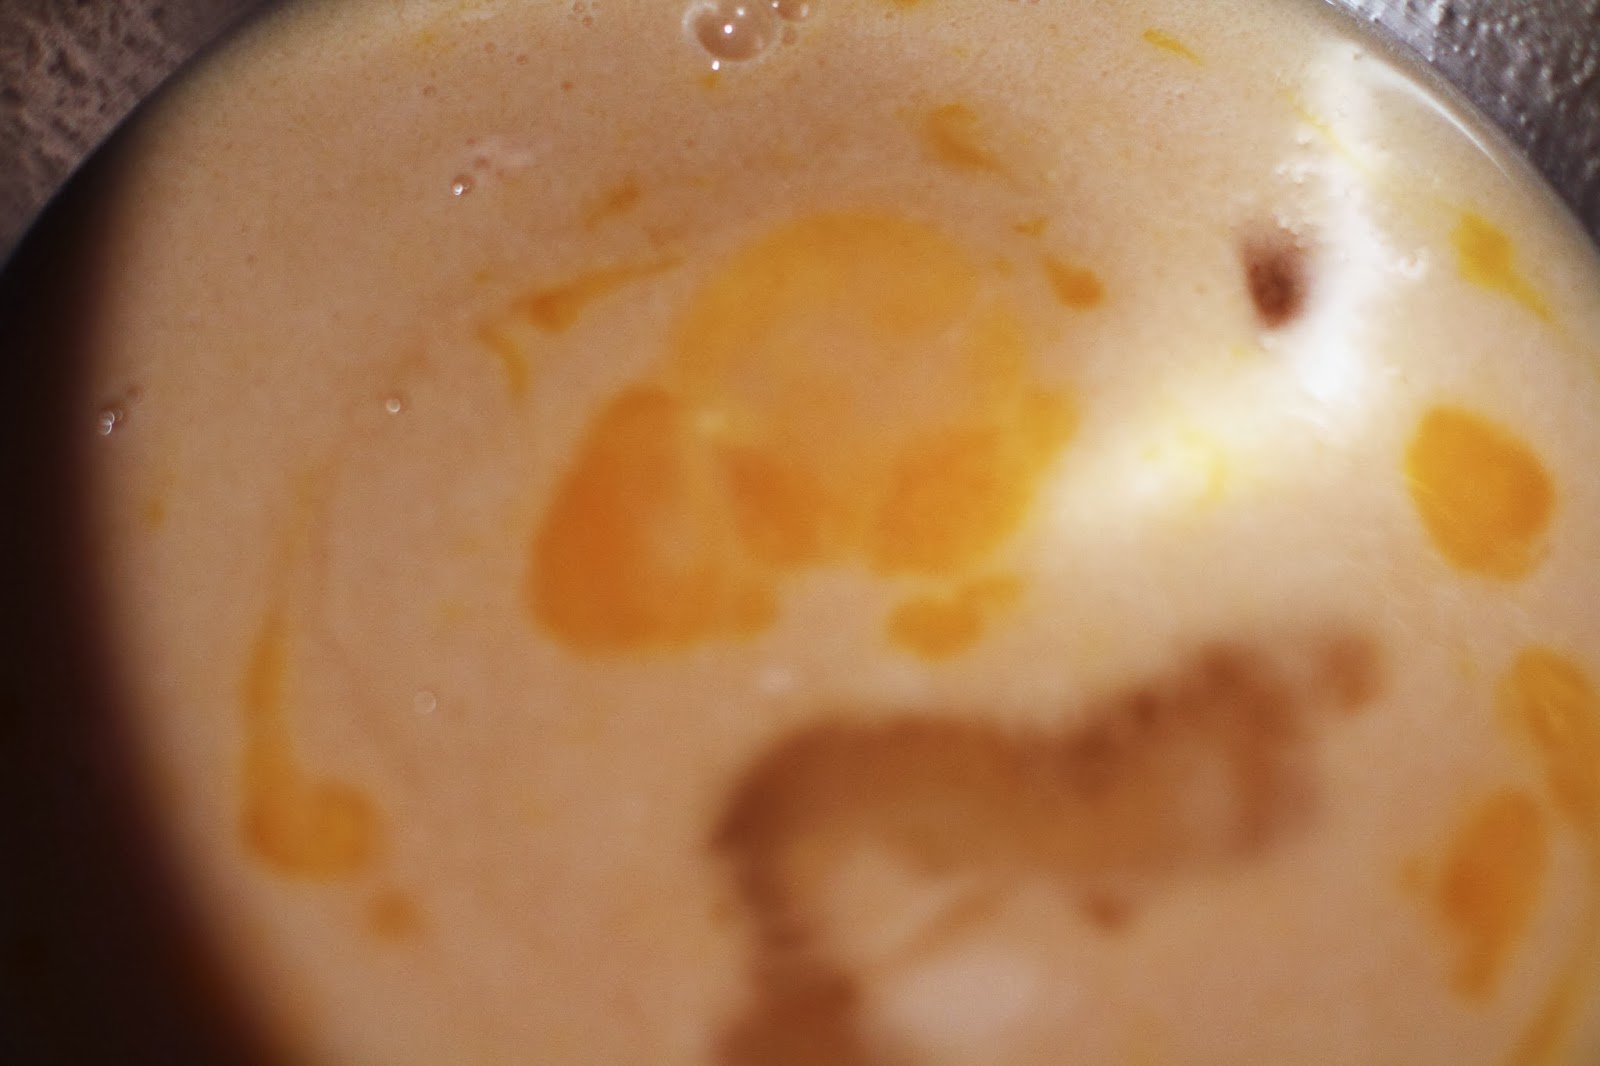
In a separate bowl, put 3/4 cup milk (almond milk works) and 1/2 cup (1 stick) butter and melt/warm in the microwave.
Mix well with spoon.

Place the butter mixture into the yeast mixture in the Kitchenaid bowl and mix with a fork.
Add 3/4 cup granulated sugar and 1 egg.
Mix well with beater attachment.
If you have a Kitchenaid, you know that you don't have to babysit it. I just set mine to mix (2) and then got my flour ready.
Put 4 cups all purpose flour and 1 tsp salt in a bowl and mix/sift with a fork.

Leave beater attachment on your Kitchenaid and add about 1/3 of the flour mixture to the yeast mixture. When it gets mixed in fairly well, add 1/3 more of the flour mixture. Continue until all of the flour mixture is added.
Stop the mixture and tilt the head back and scrape the sides of the bowl to get all flour into the yeast mixture.
Put the dough hook attachment on the Kitchenaid and set to 2. Allow Kitchenaid to knead dough for 7 "ish" minutes.
**If kneading by hand, knead for 8-10 minutes**

Once again, don't have to babysit :)
While dough is being kneaded, coat the inside of a large bowl with oil.

When the dough is kneaded well, it will look like this.
Note, at this point, it looks a little thin.
It will be very sticky.
Turn your oven on to the lowest setting and let it preheat. Mine is digital and the lowest I can go on it is 170 degrees and that worked.
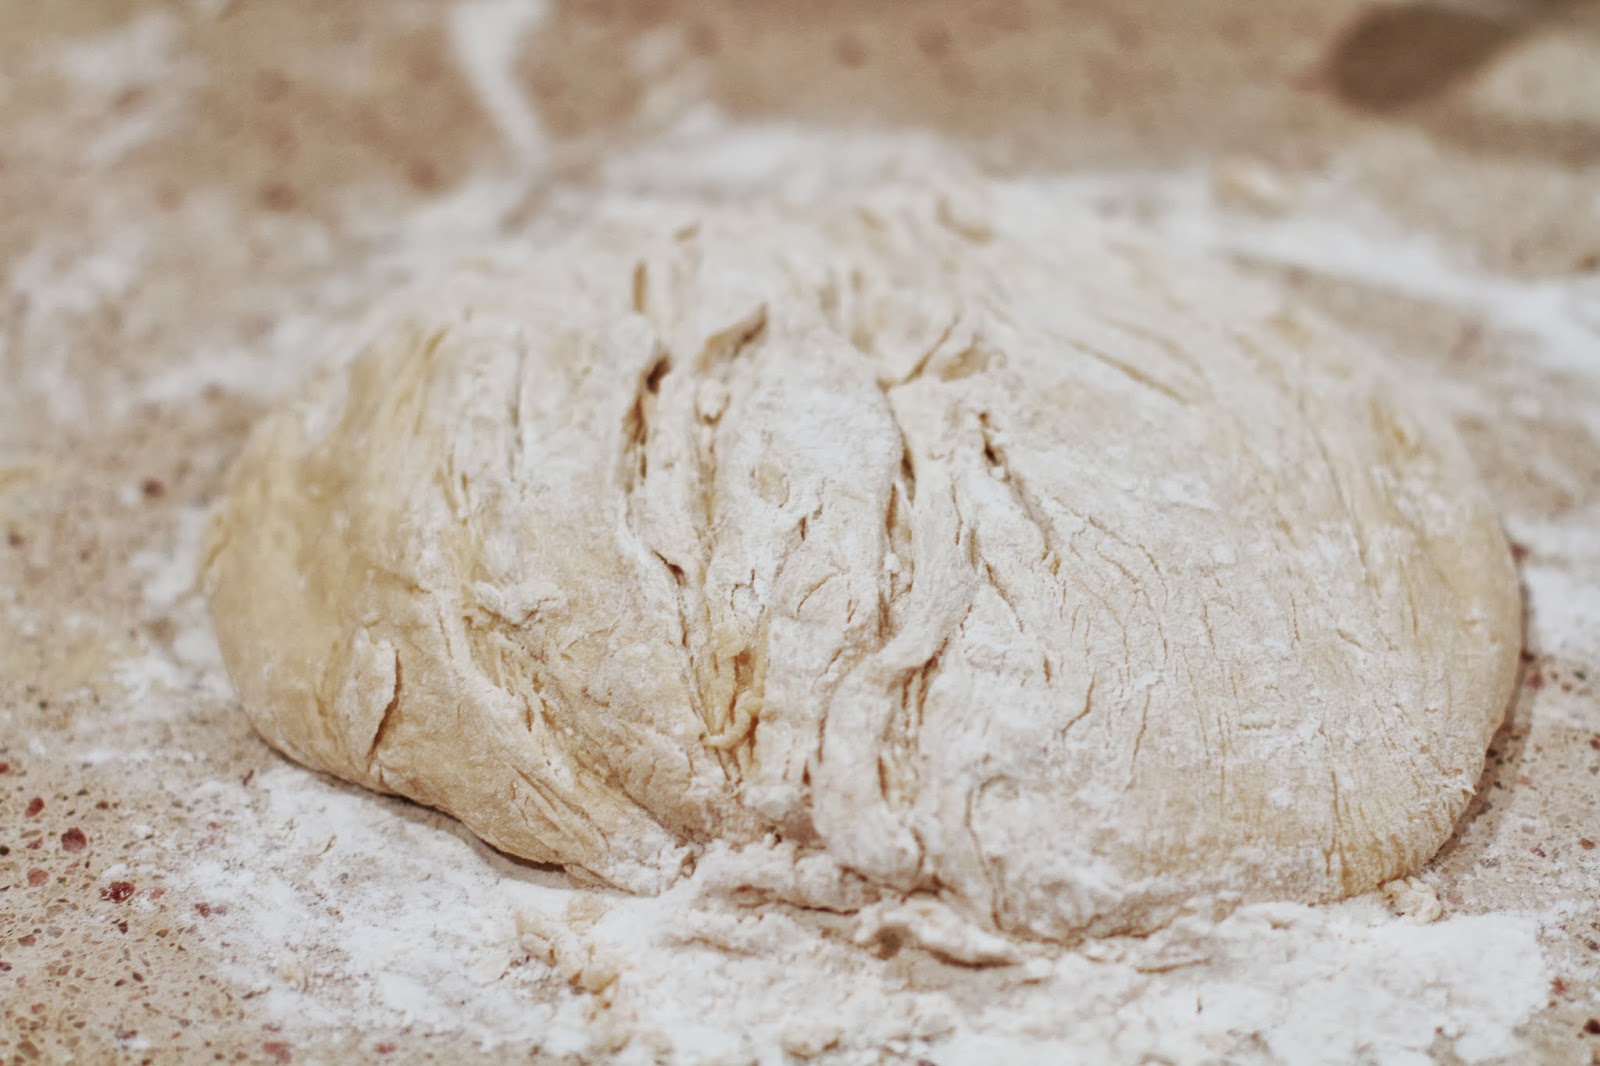
Generously dust a counter top with flour. Cover hands very well with flour. Take dough from bowl and place on floured surface (seriously, generous flour on your hands)
Knead by hand on flour surface until the dough is no longer sticky.
Place your (no longer sticky) dough in your large bowl coated with oil.

Turn your oven off and place the bowl of dough in the center. Cover the bowl with a clean damp towel.
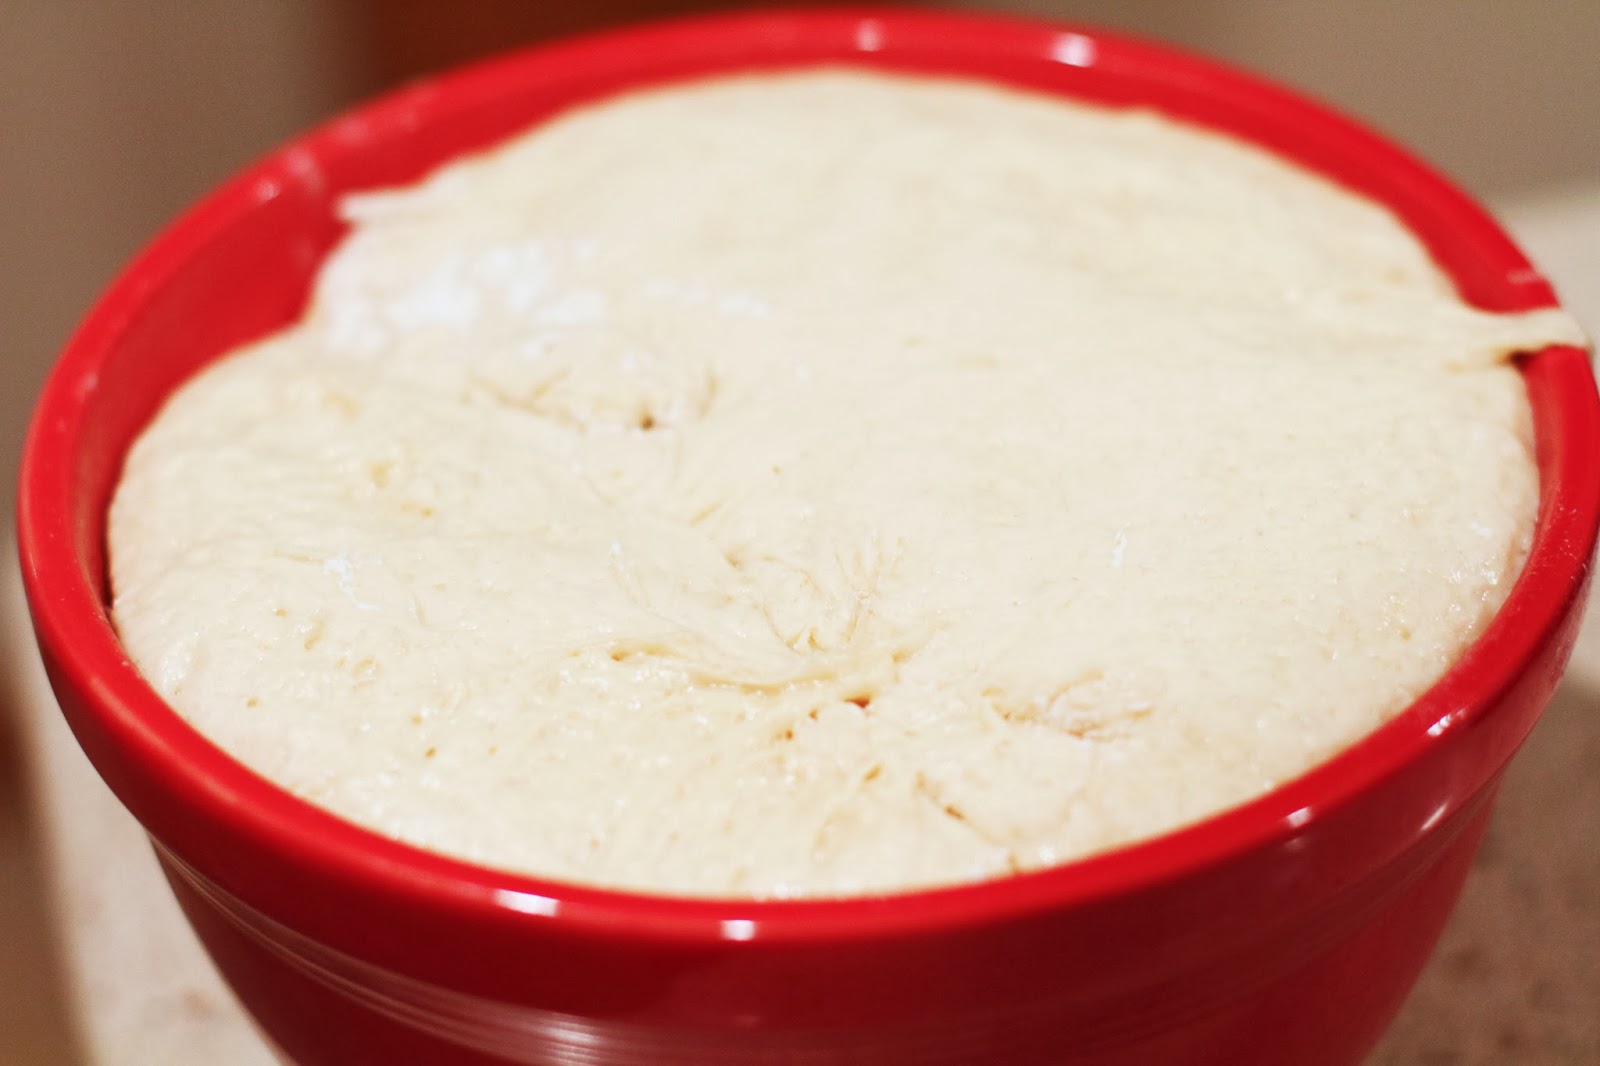
Allow dough to rise for 45-60 minutes or until it's doubled in size.
I did mention to use a large bowl, right?

Take bowl of dough out of the oven.
How nice does that look?
I forgot to take a picture, but this is where you punch your fist right down the center of the bowl. This releases air bubbles.
Remove dough from bowl and place on generously floured surface. Turn to coat with flour, because despite your best efforts, it's still going to be a little sticky.
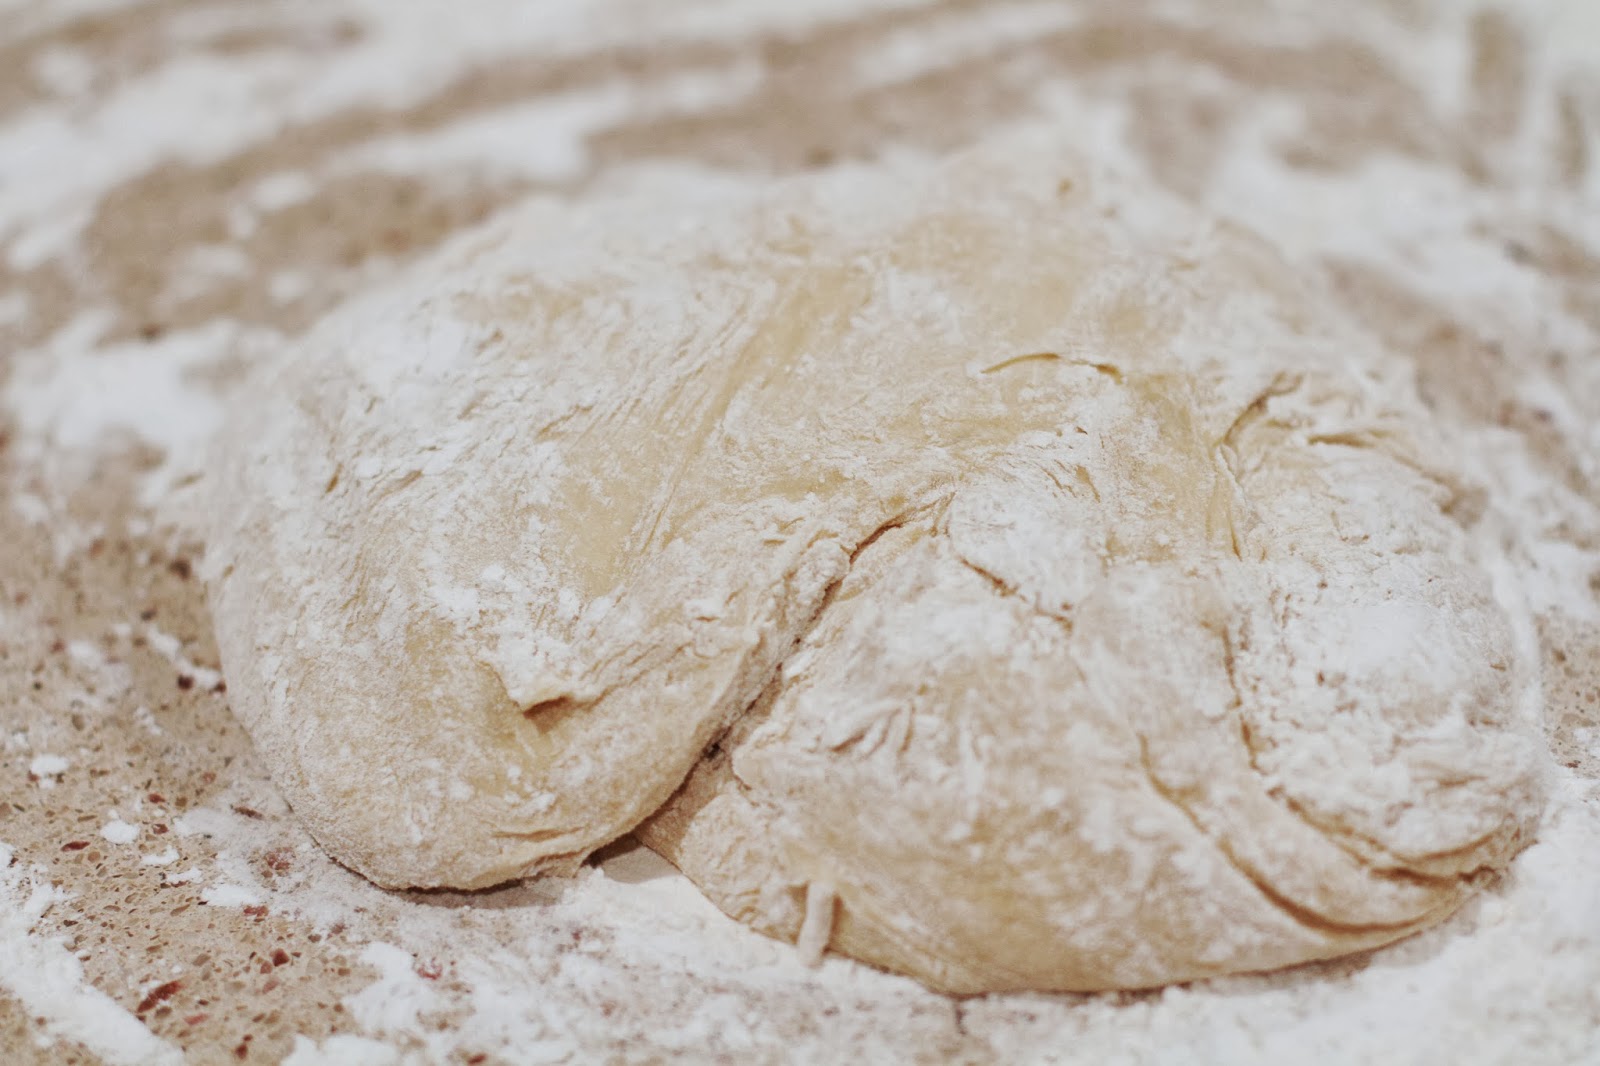
Coat a rolling pin with flour and roll your dough in a (roughly) 13 X 18" rectangle. Don't get too caught up on exact measurements. If these turn out too perfect, people are going to think you bought them ;)

Now it's time to make the gooey inside goodness.
Here's what you'll need:
1 cup light brown sugar
1/4 cup all purpose flour
2 1/2 tsp ground cinnamon
dash of salt
1/2 cup (1 stick) butter (softened)

If you forgot to set your butter out to soften by warming up to room temperature, you can stick it in the microwave for 15 seconds or so.
Put all the ingredients in your Kitchenaid mixer bowl. Softened butter (1/2 cup or 1 stick), 1 cup packed light brown sugar, 2 1/2 tsp cinnamon, dash of salt and 1/4 cup flour.
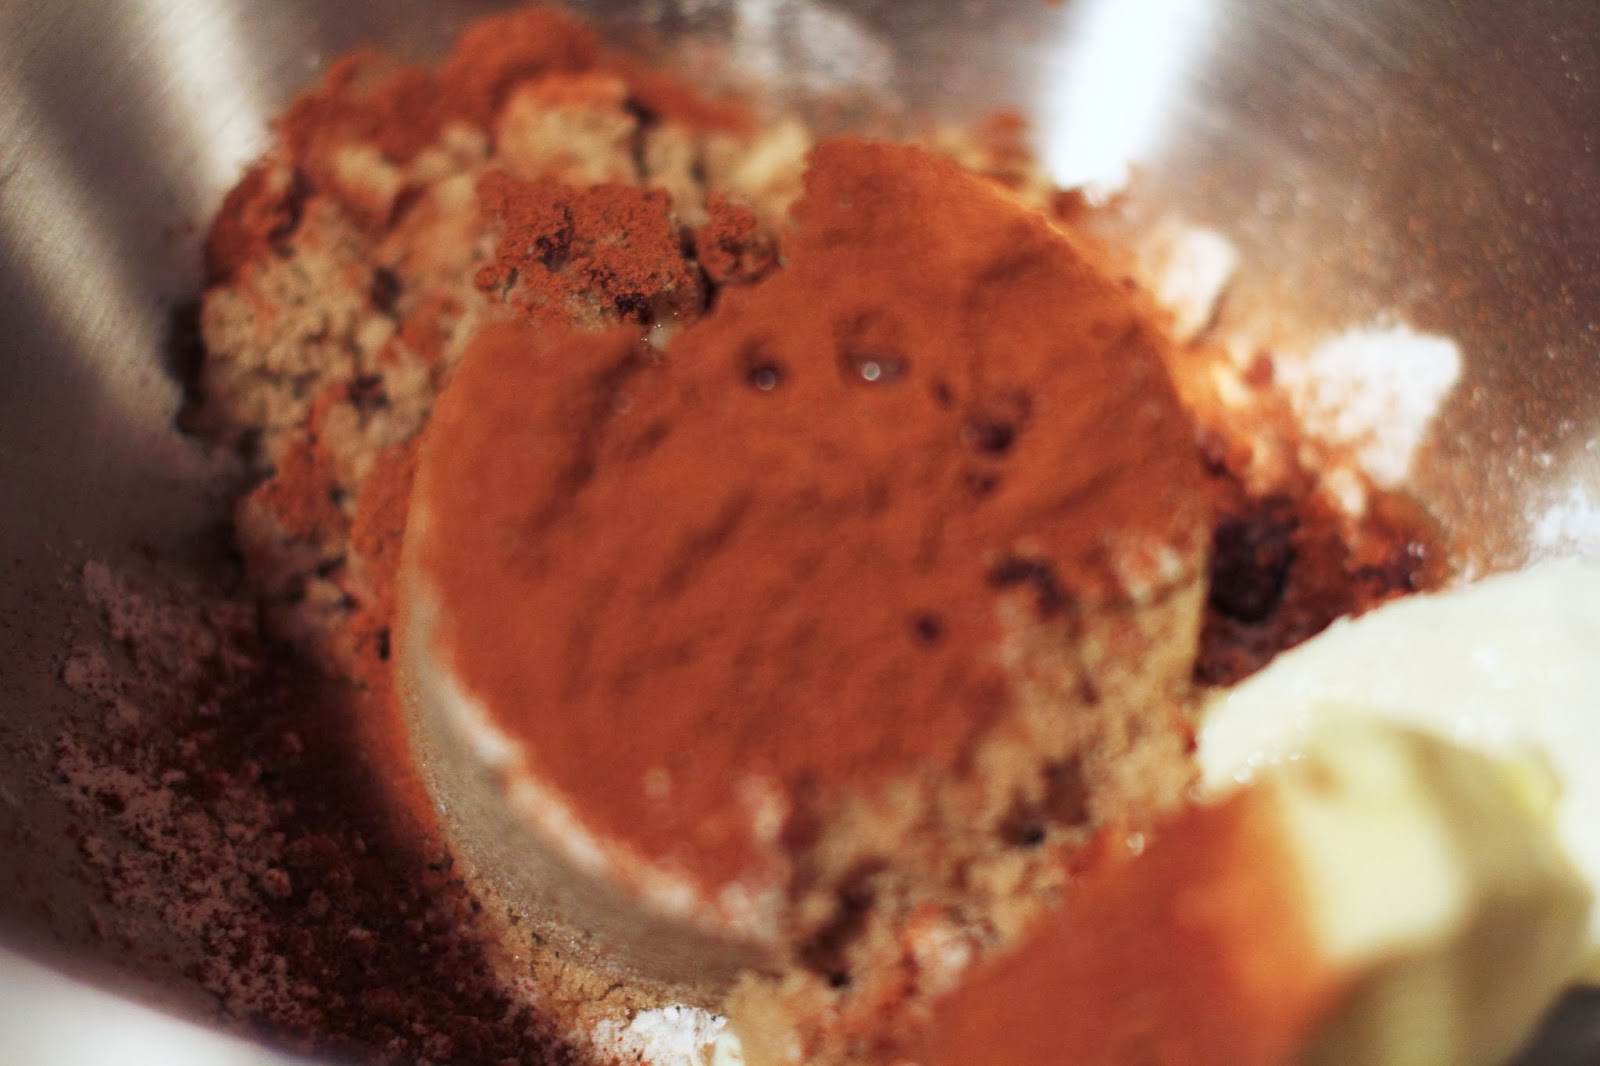
Use the beater attachment and cream well.
It will look like this.

Spread your inside gooey goodness onto your rolled out roll dough.

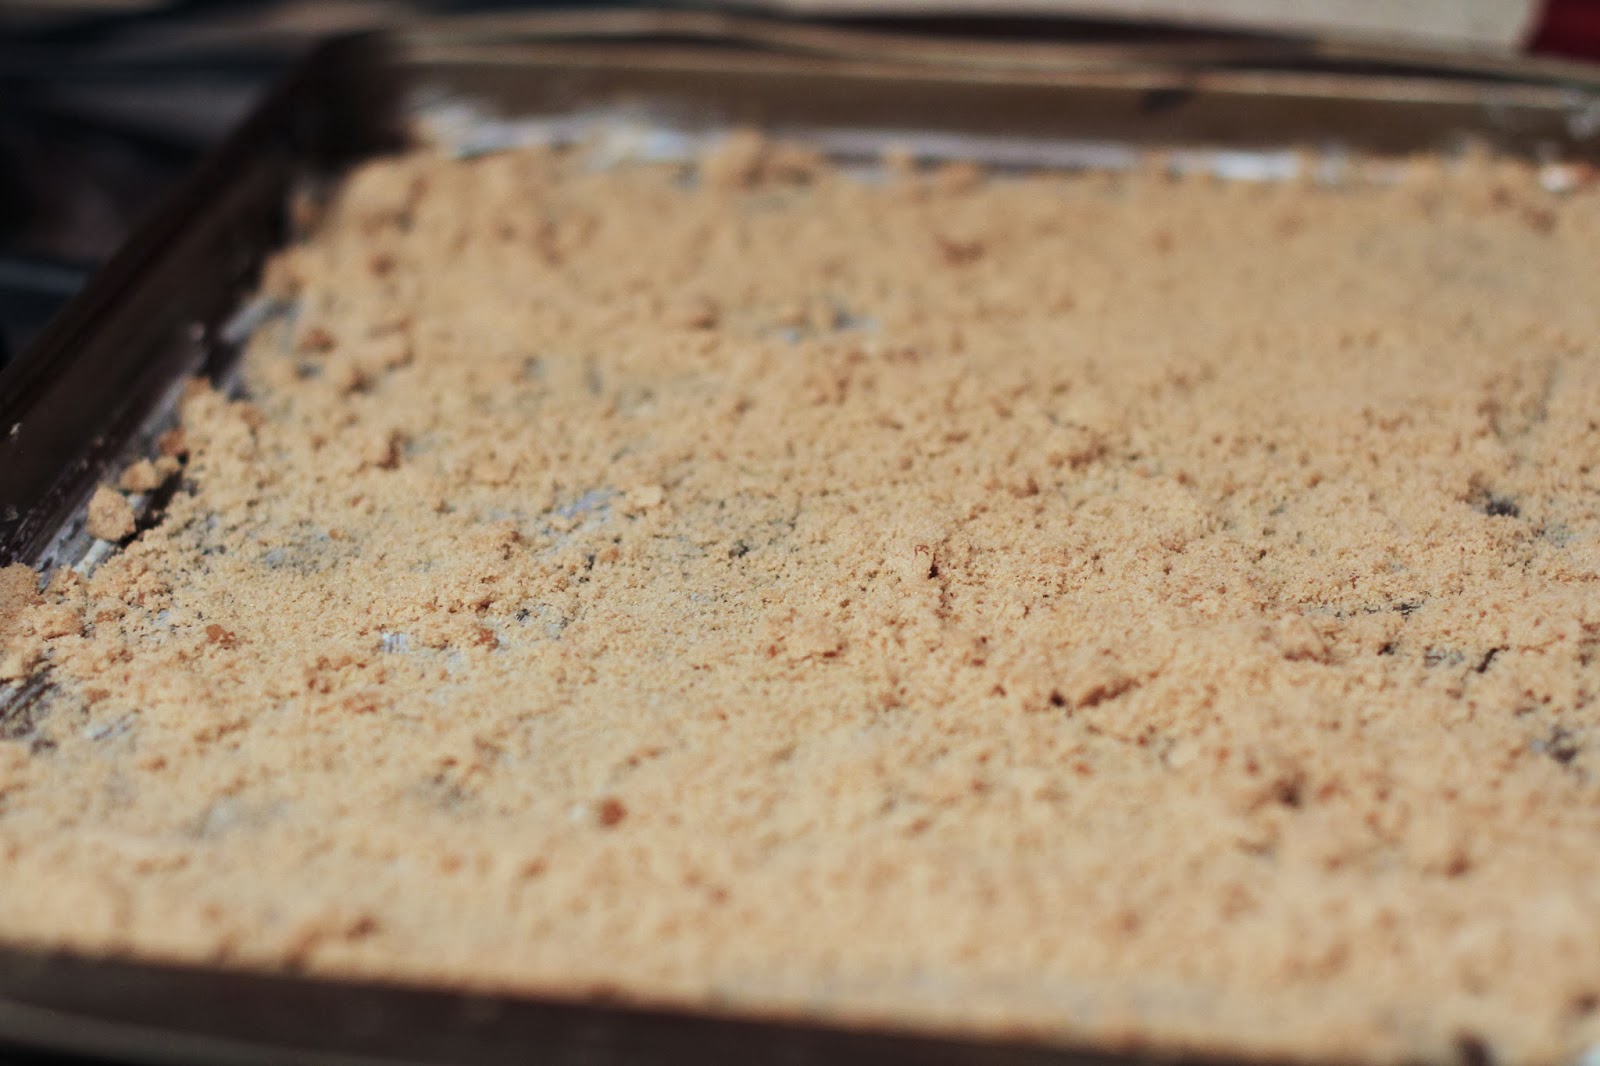
Take your baking sheet (I used my favorite cookie sheet, but you can use any pan roughly that size) and spread butter thickly all over the bottom. Crumble brown sugar loosely on top of the butter.
Turn your oven back on to it's lowest setting and allow to preheat.
Roll your dough lengthwise.
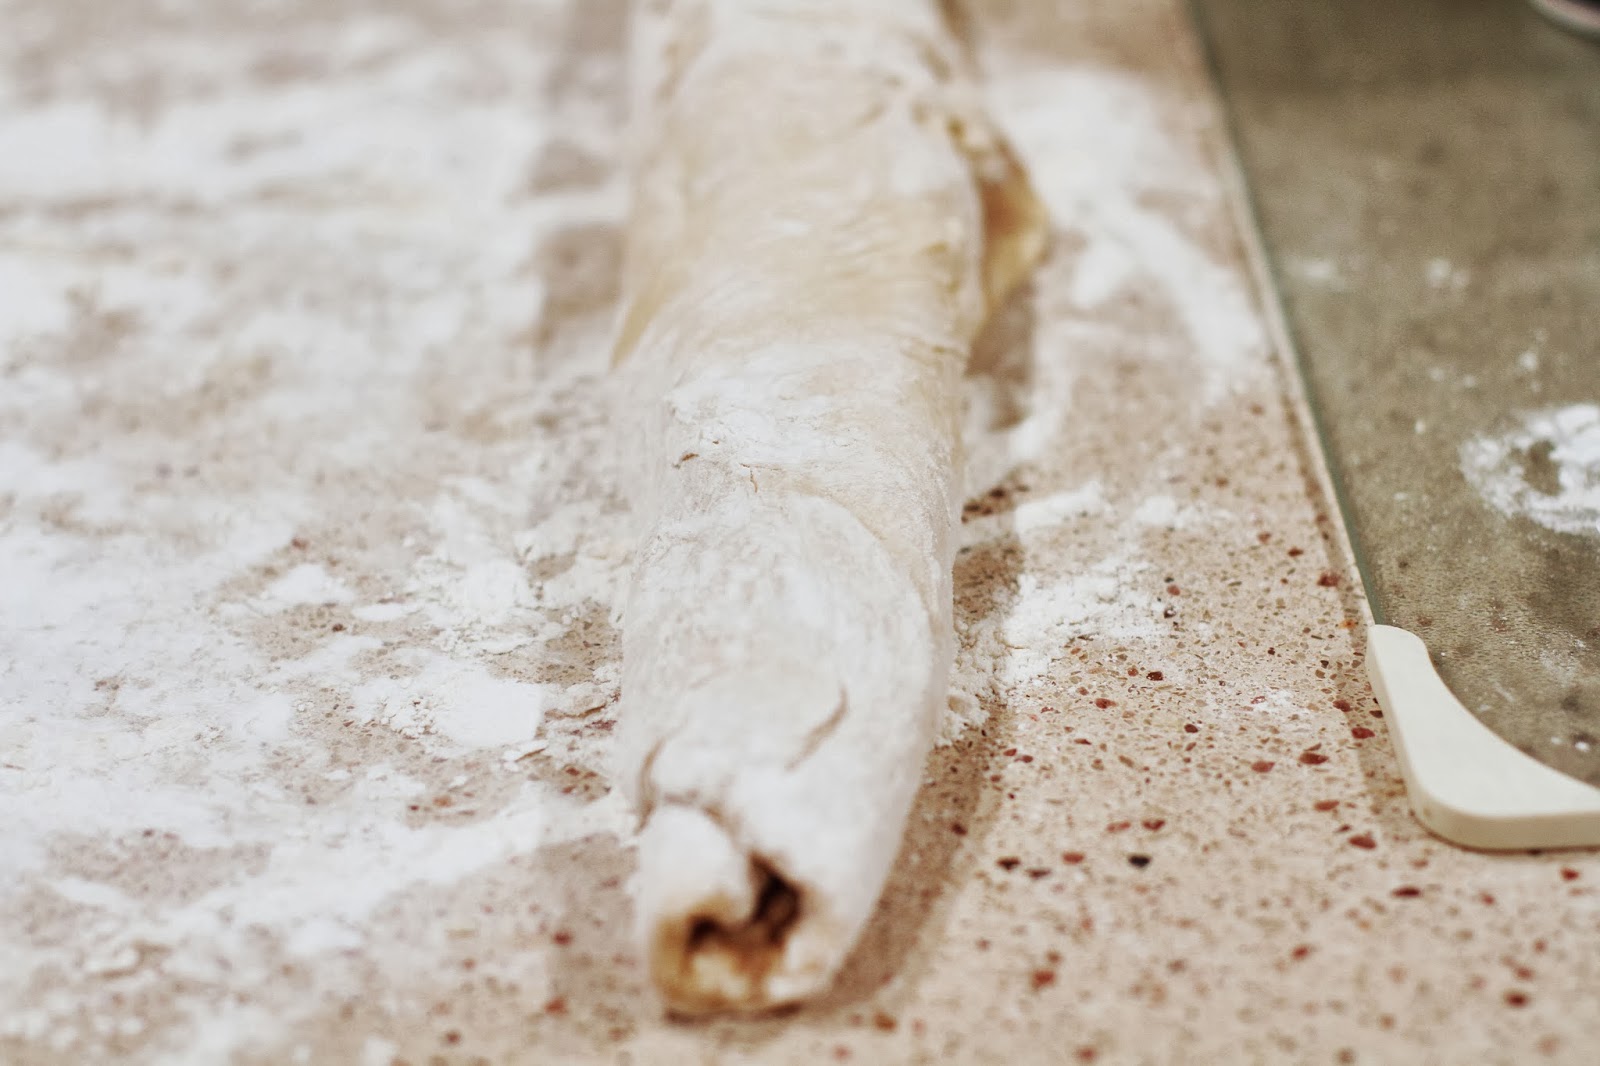
So, you'll have a long roll of dough...

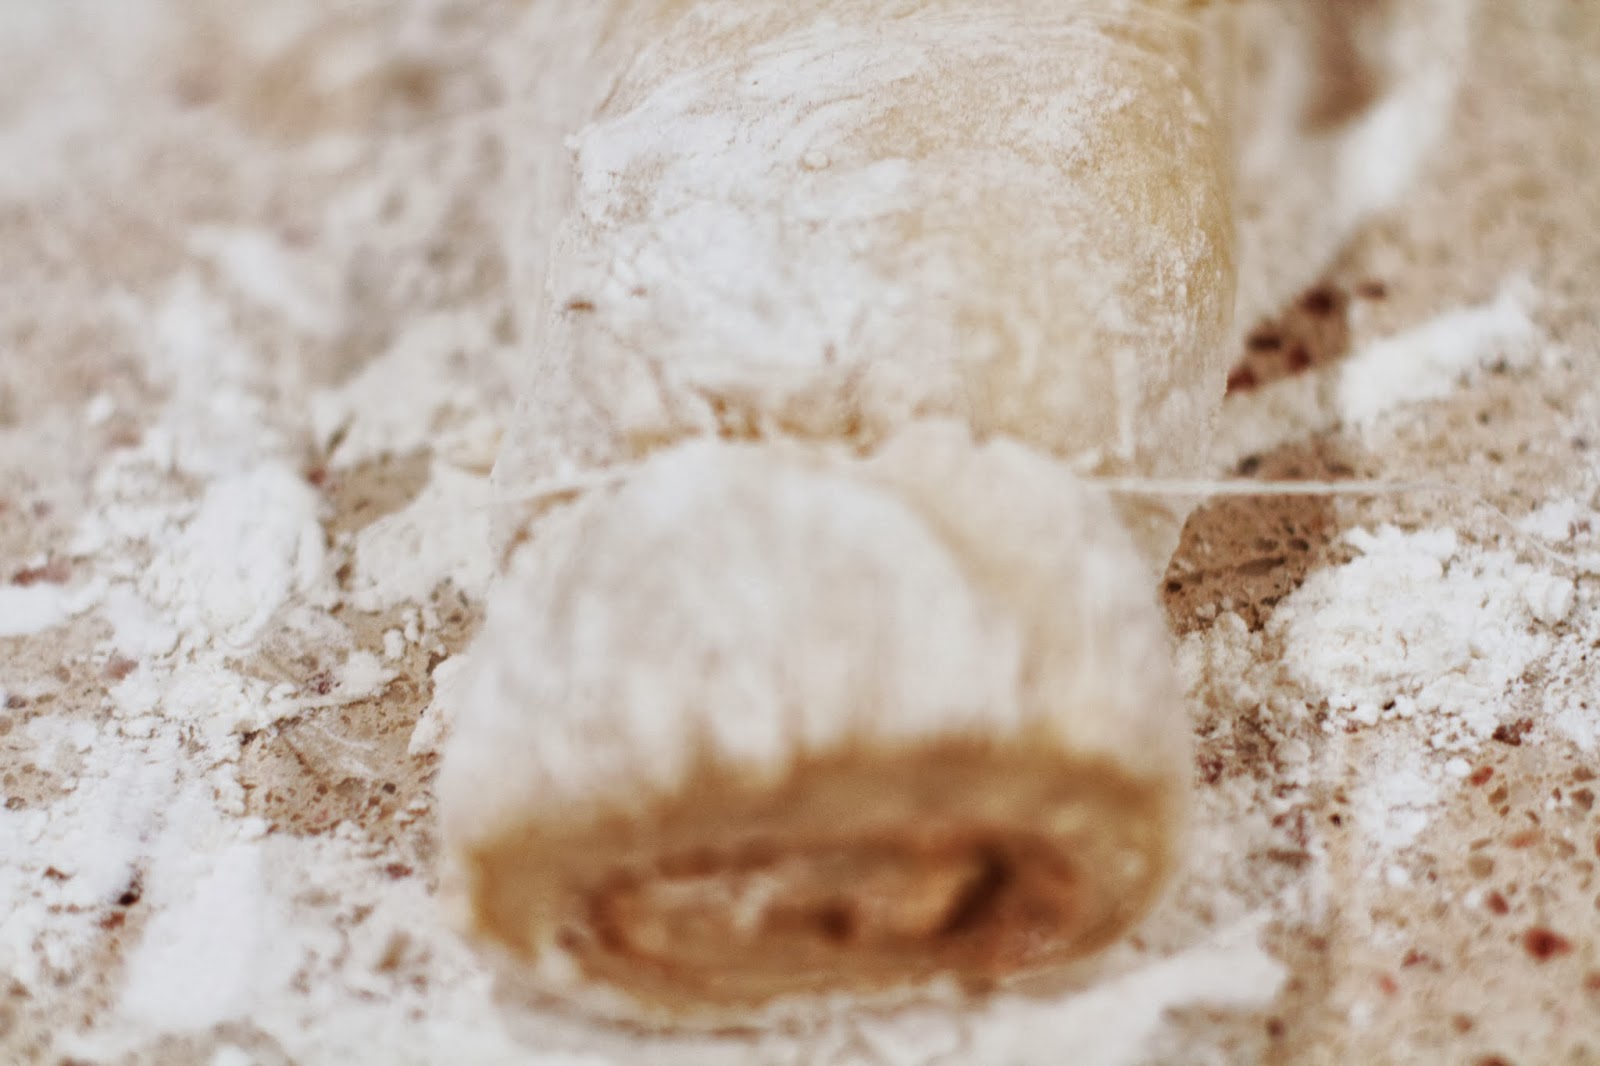
Run to the bathroom and grab your dental floss.
This stuff is the best to slice your rolls with. You can use a knife, but it will squish the dough together and flatten it.

Cut a piece of dental floss (about 10-12 inches). Slide the dental floss under your roll, bring up and cross on top, then pull - it slices right through your dough.
Place your slices of rolls on your baking sheet.
Here's where I tell you that if you allow your rolls to almost touch, they will rise upward. If you leave them spaced out (like I did here), they will rise and widen.
It's up to you.

Turn your oven back off and place your rolls inside. Allow to rise another 45-60 minutes or until almost doubled in size in warm oven.
When they are done, remove from oven - but turn the oven back on - this time to 350 degrees.
It's almost time to bake!
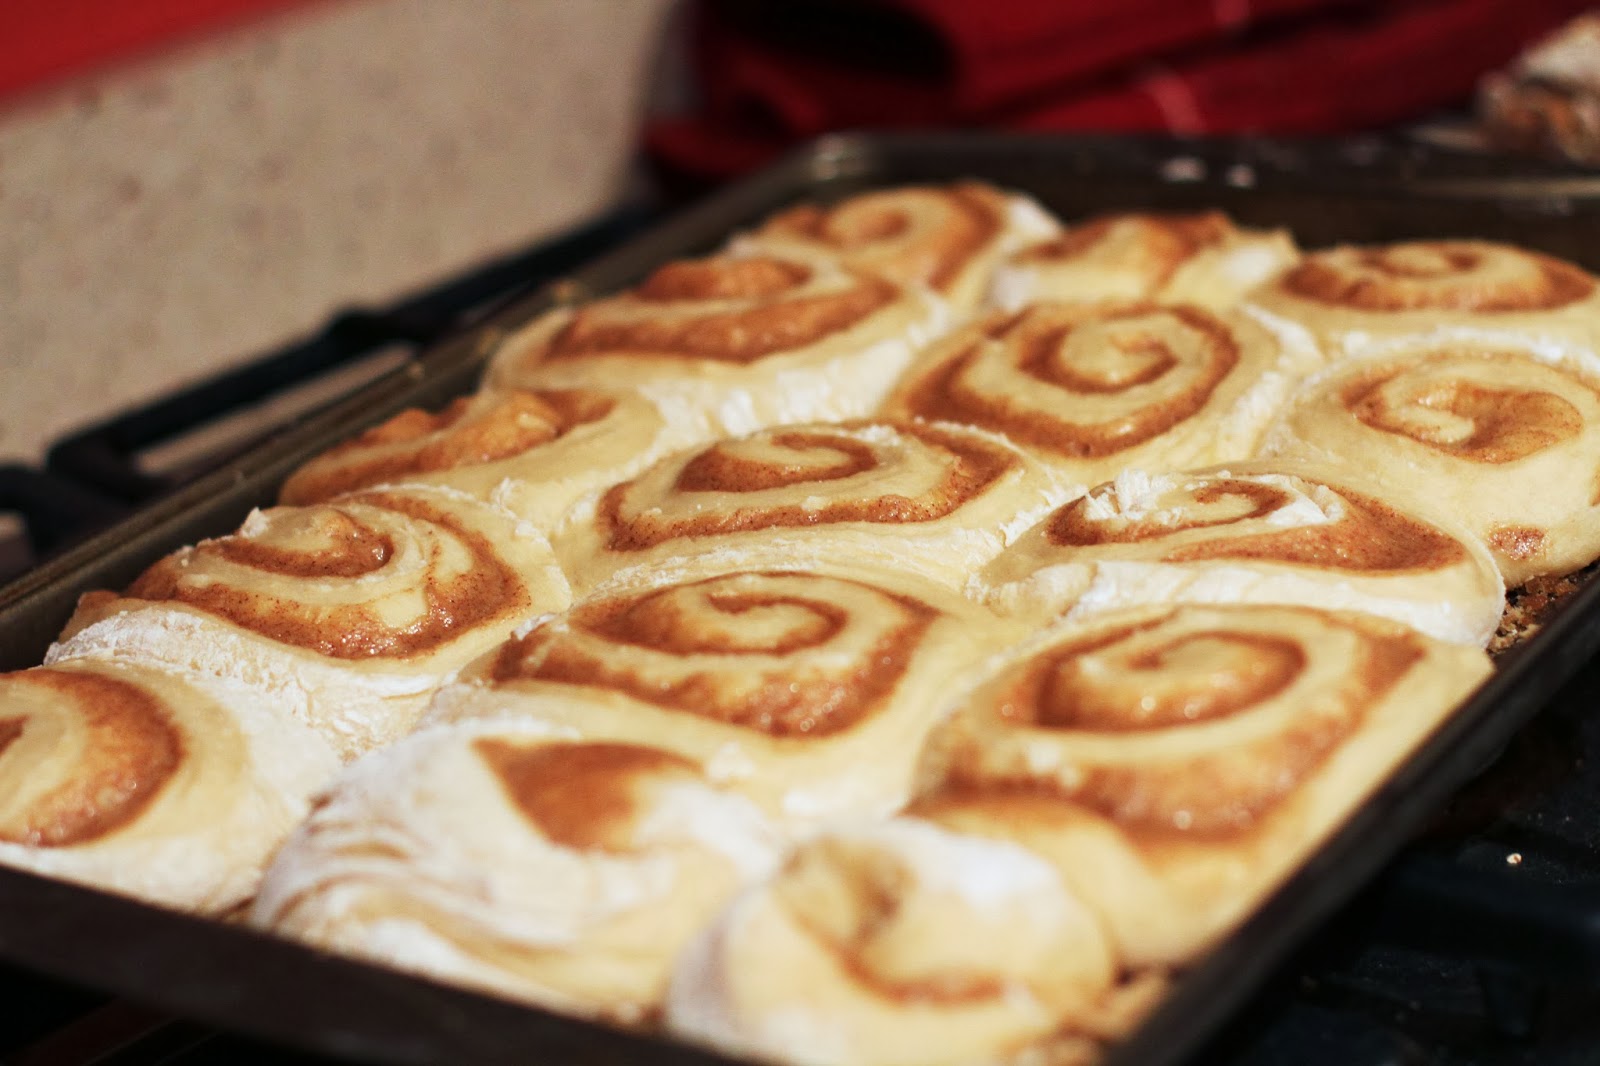
They will look like this when they are done.
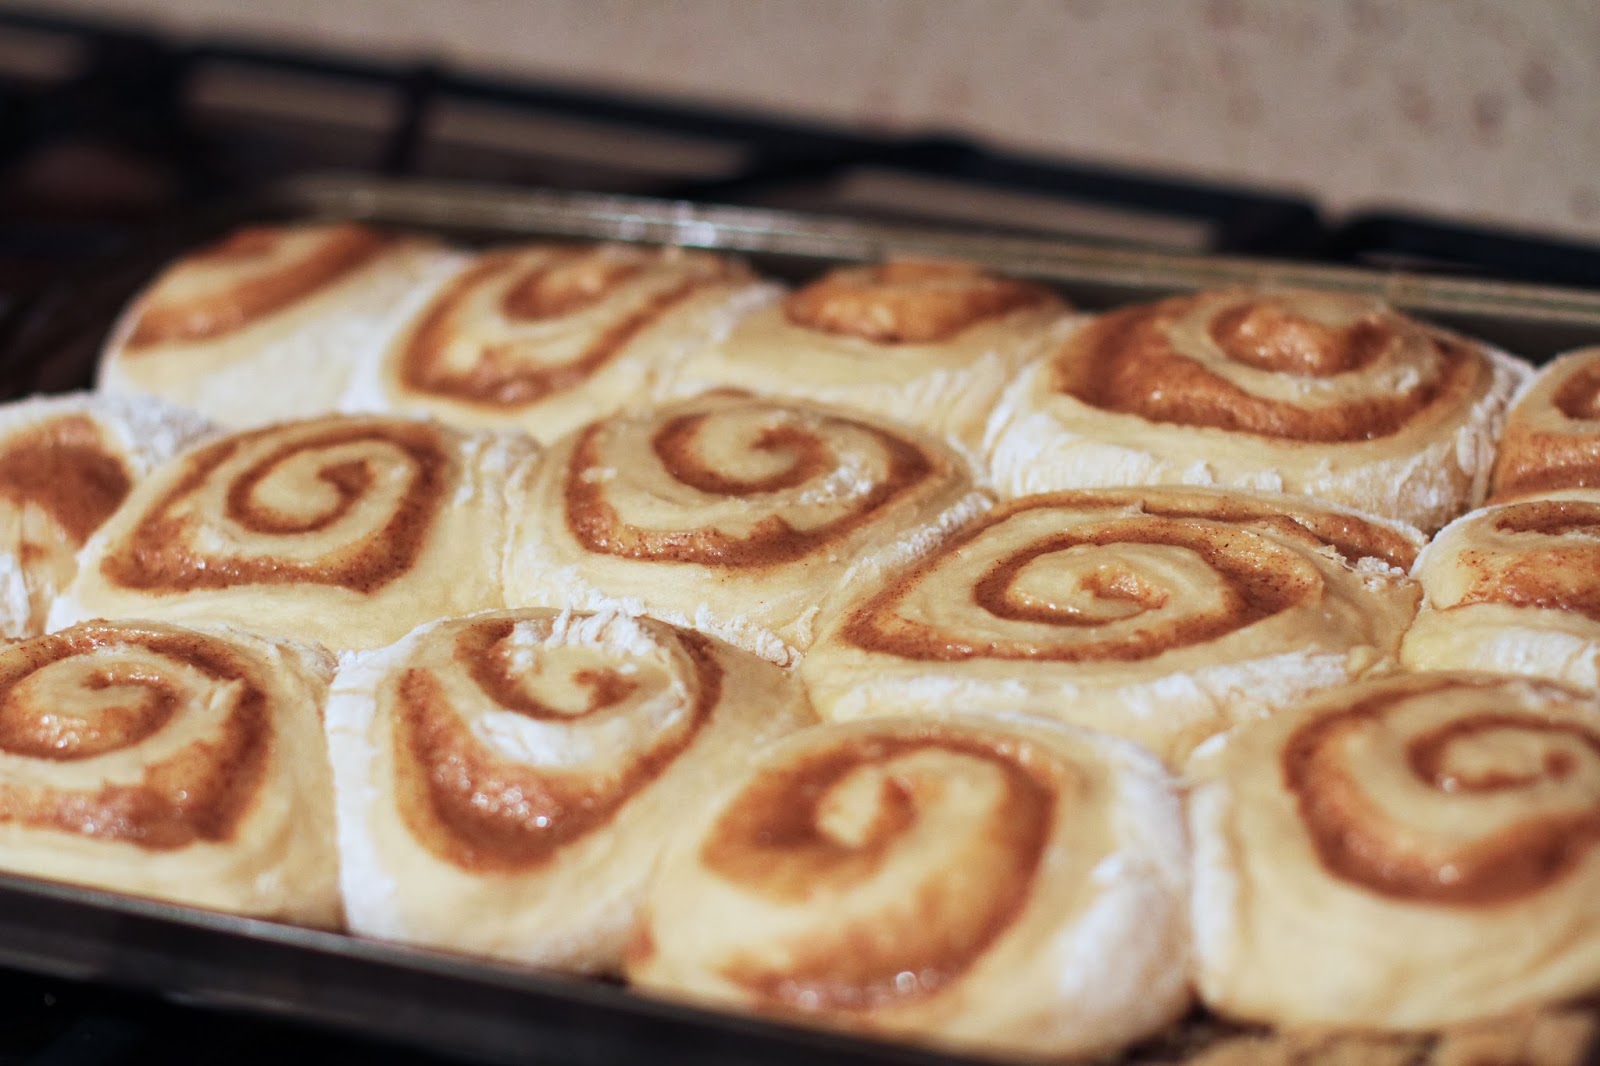
Here's another shot of the rolls after allowing to rise. Notice how they've spread out and are touching? If I had used a smaller pan and placed them closer together, they would also have risen upward more.
Clear as mud, right?
When the oven is preheated to 350 degrees it's time to bake. Finally!
Bake rolls for 15-20 minutes or until done (browned).
Timing will depend on thickness of rolls.
While your rolls are baking, it's time to make the icing.
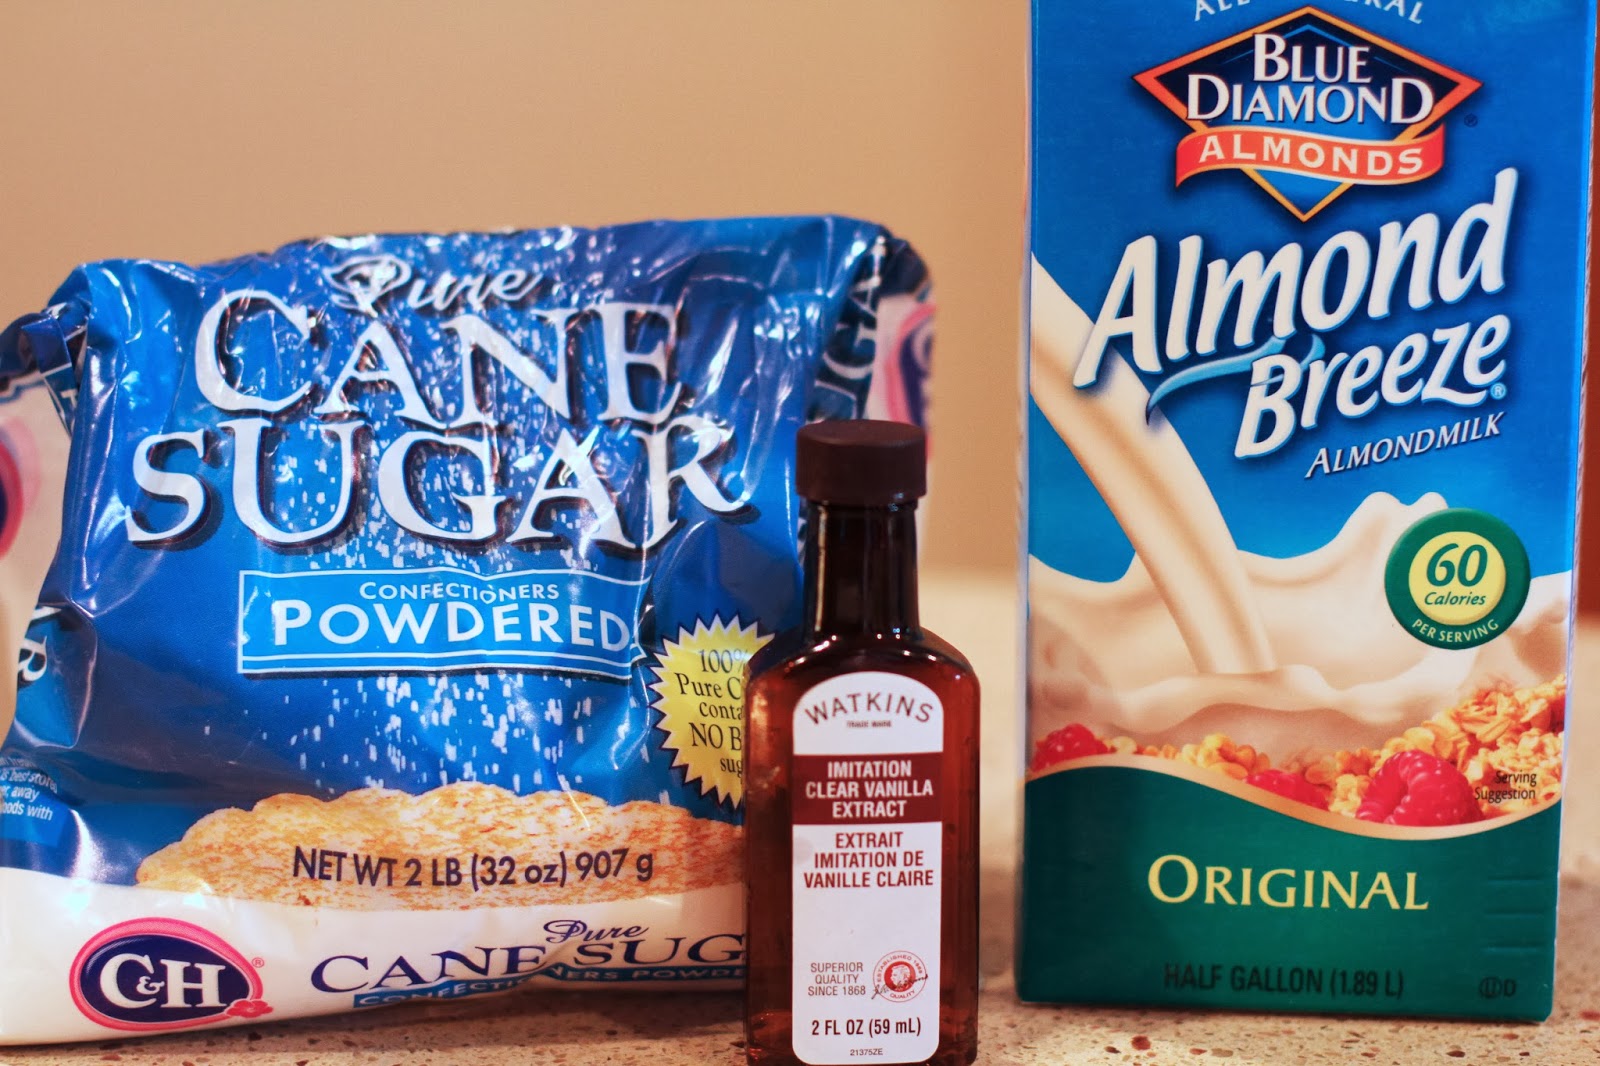
You can find good cream cheese icing, but since I can't have much dairy, this is a vanilla icing/glaze that is made with almond milk.
Here's what you'll need:
4 cups powdered sugar
2 TBSP melted butter
1 1/2 tsp vanilla
3-5 TBSP milk (or almond milk)
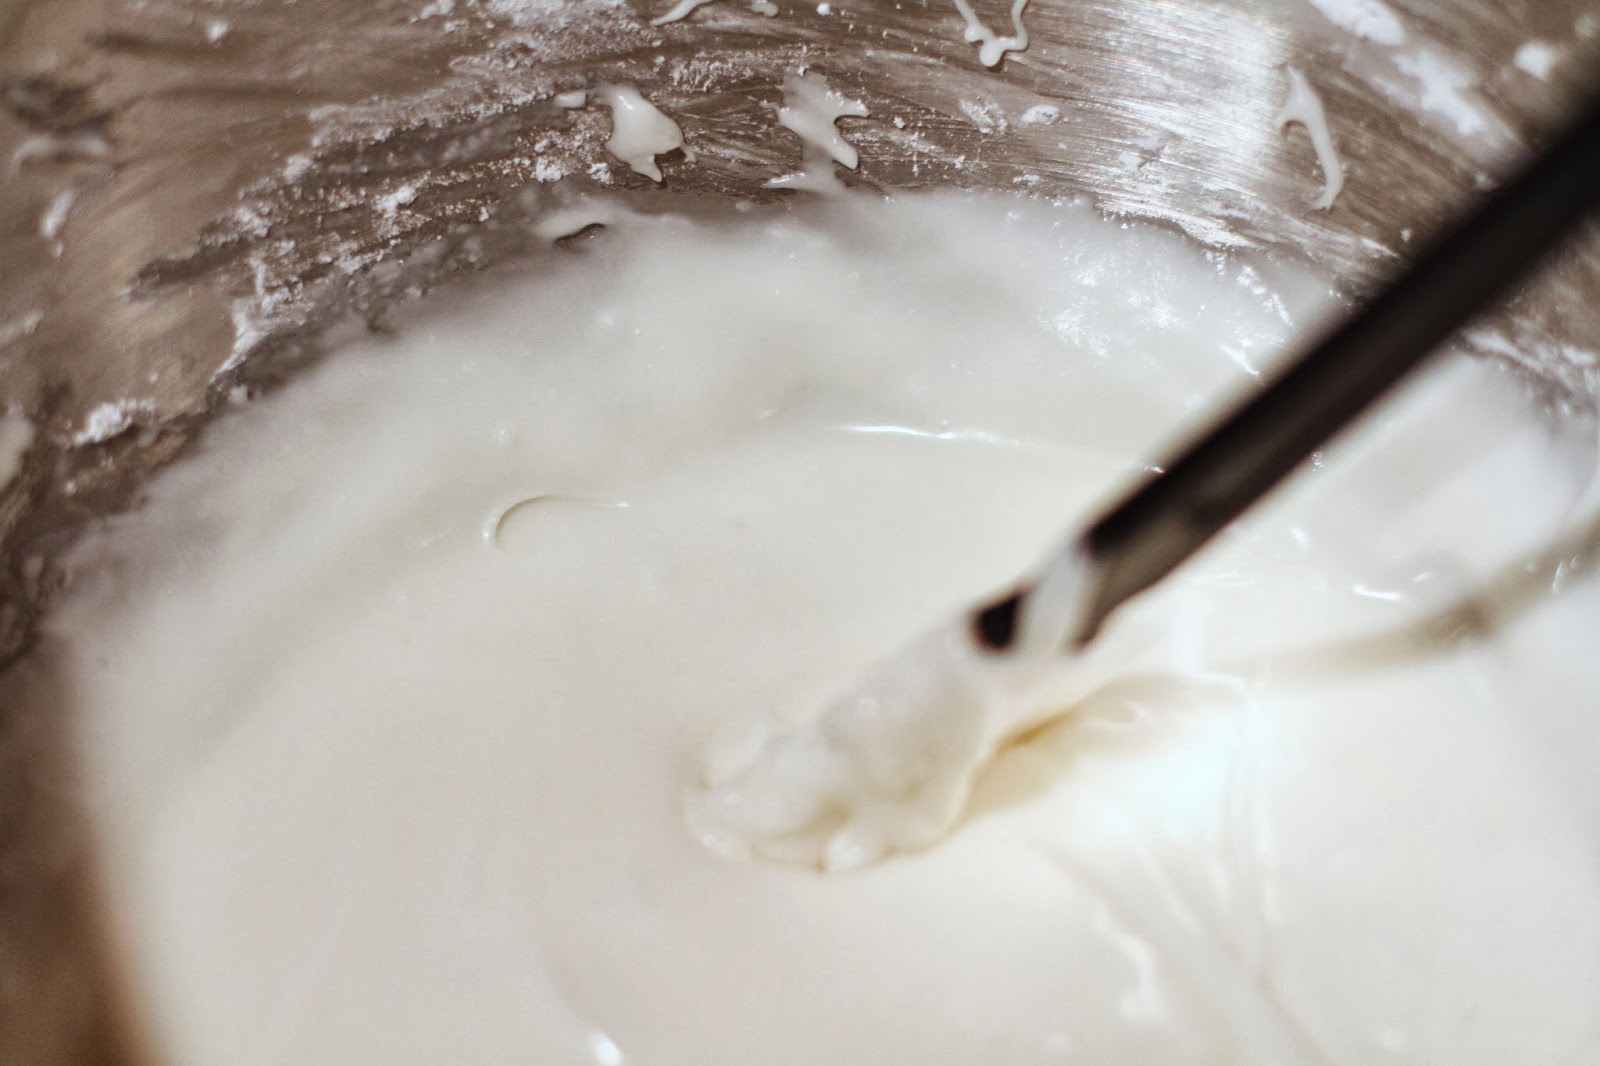
Put the 4 cups powdered sugar, 2 TBSP melted butter, 1 1/2 tsp vanilla and 3 TBSP milk (almond milk) in your mixer bowl for your Kitchenaid.
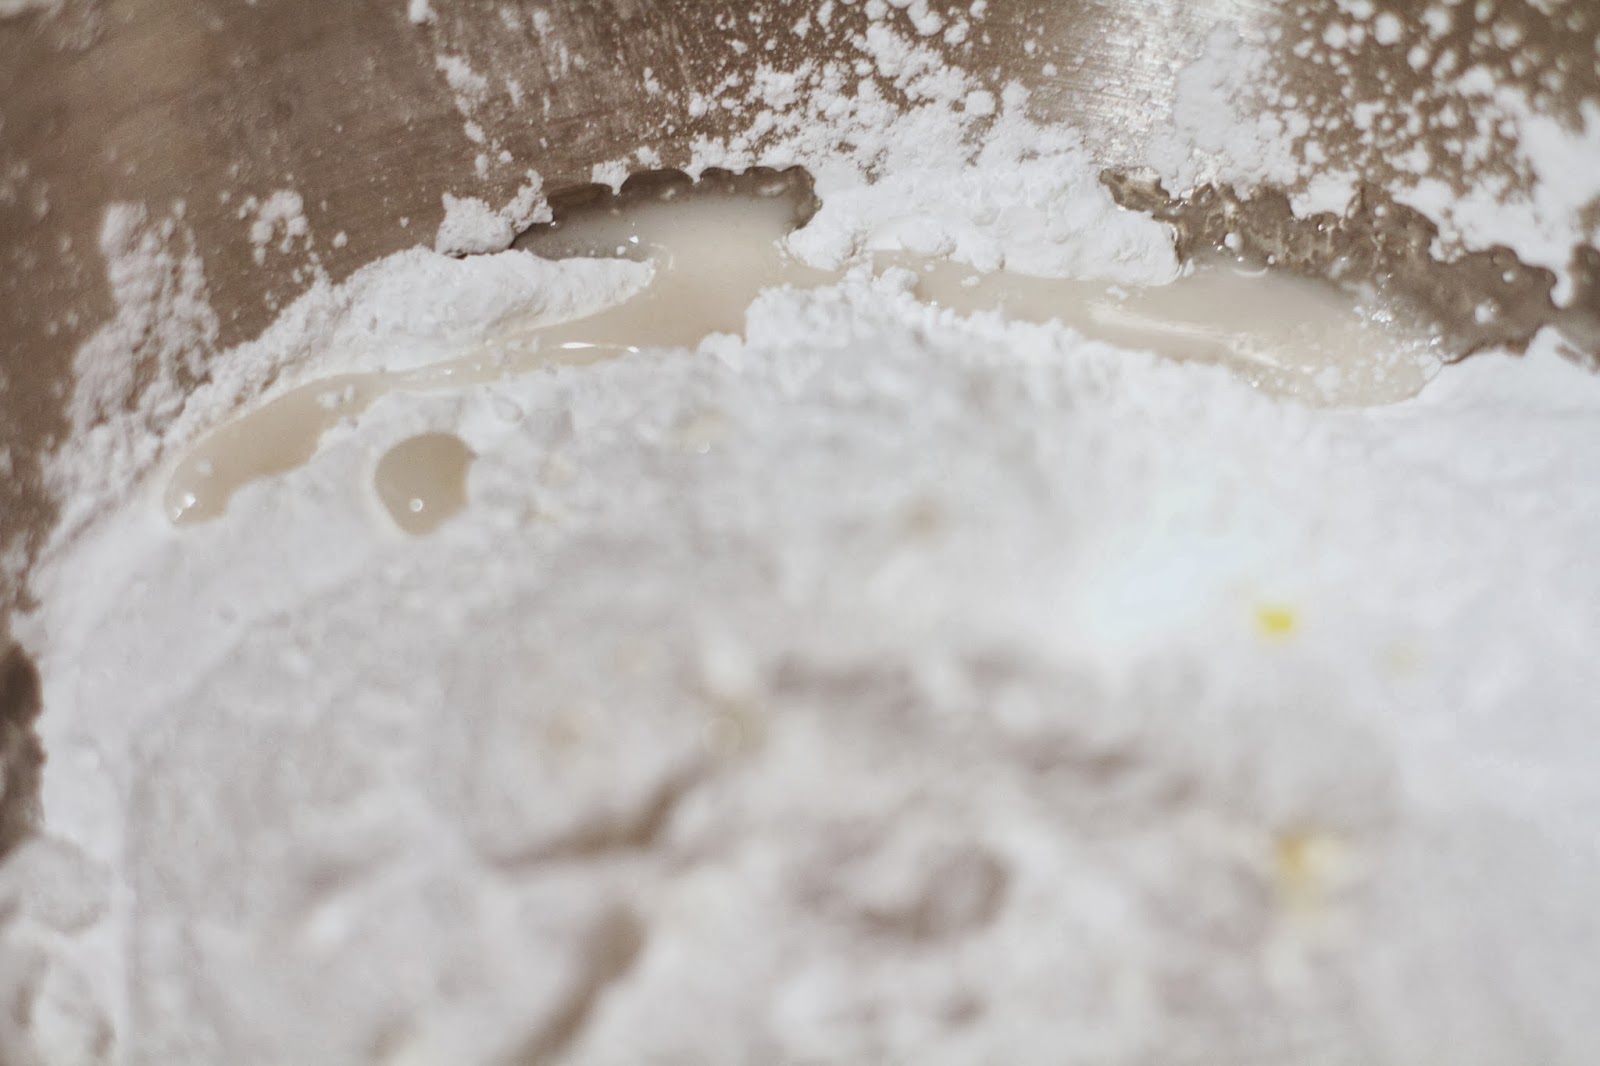
Mix well with the beater attachment.
You want this icing to be fairly thick (your going to spread it on piping hot cinnamon rolls). However, if it's too thick, add more milk 1 TBSP at a time until it is the consistency that you want it. 3 TBSP worked fine for me. If it's too thin, add more powdered sugar.
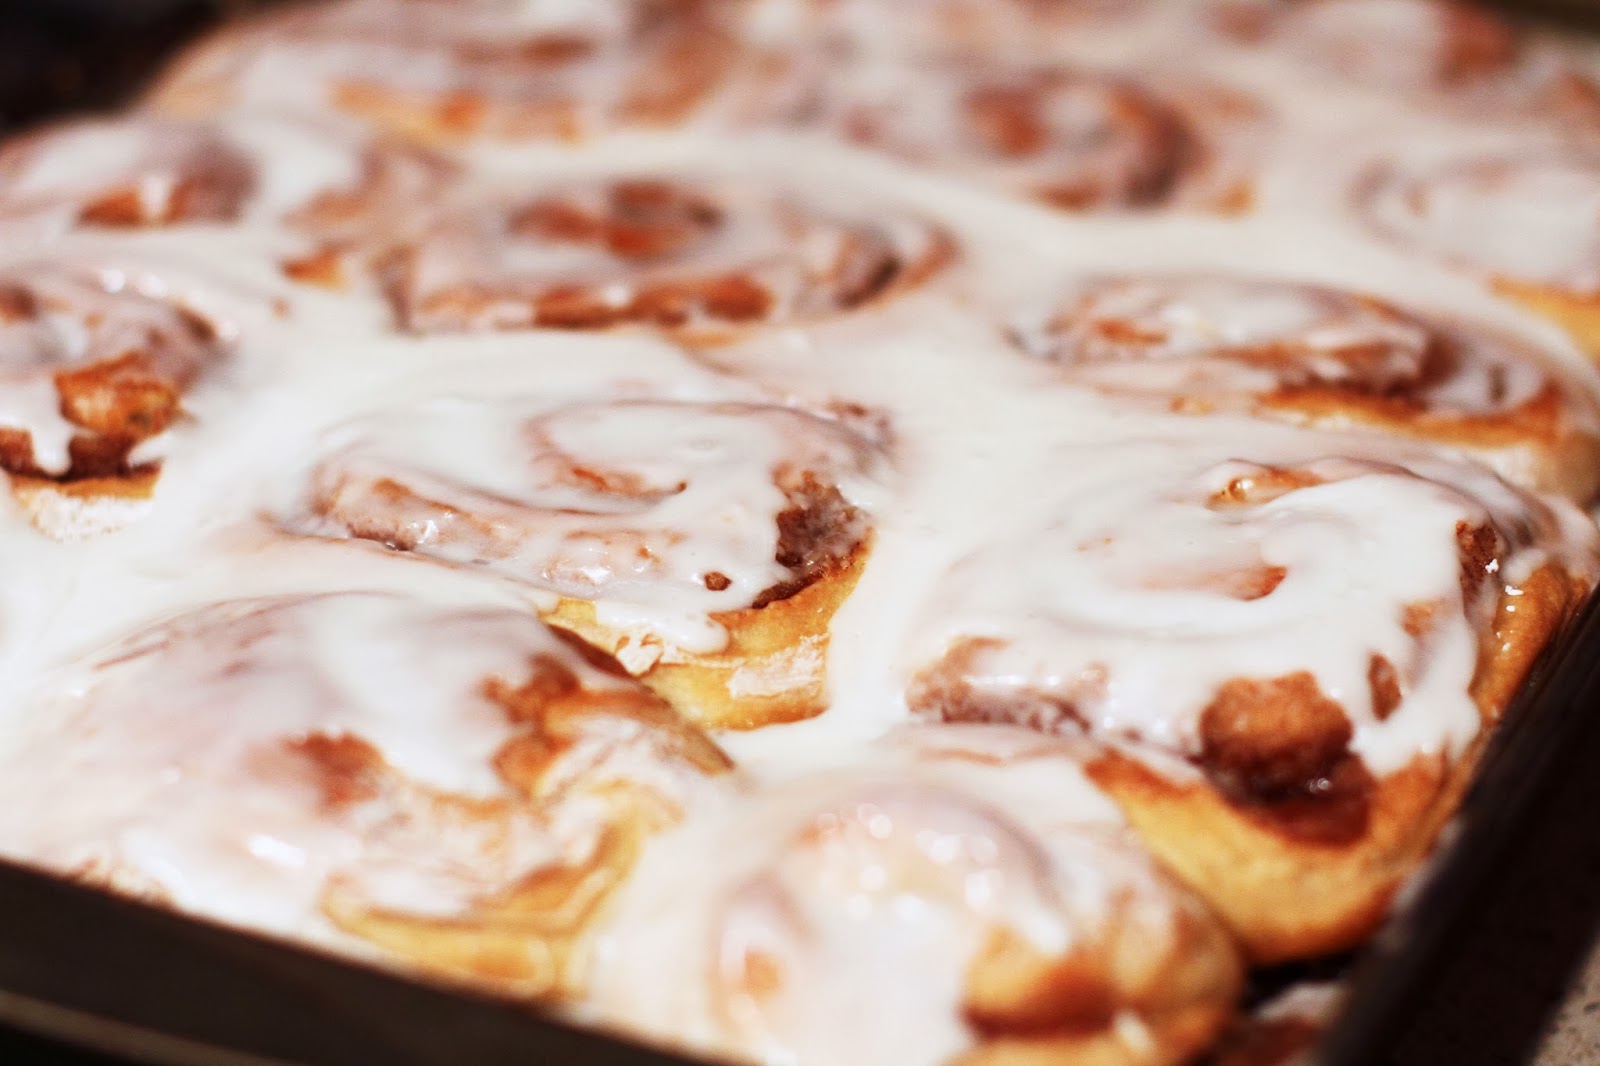
When your cinnamon rolls are done, remove from the oven and slather the icing on.

YUM!
Tip: after icing your cinnamon rolls, it's a good idea to go ahead and remove them from the pan while warm.
The butter/brown sugar mixture on the bottom will harden as it cools and then you'll have a stuck mess.
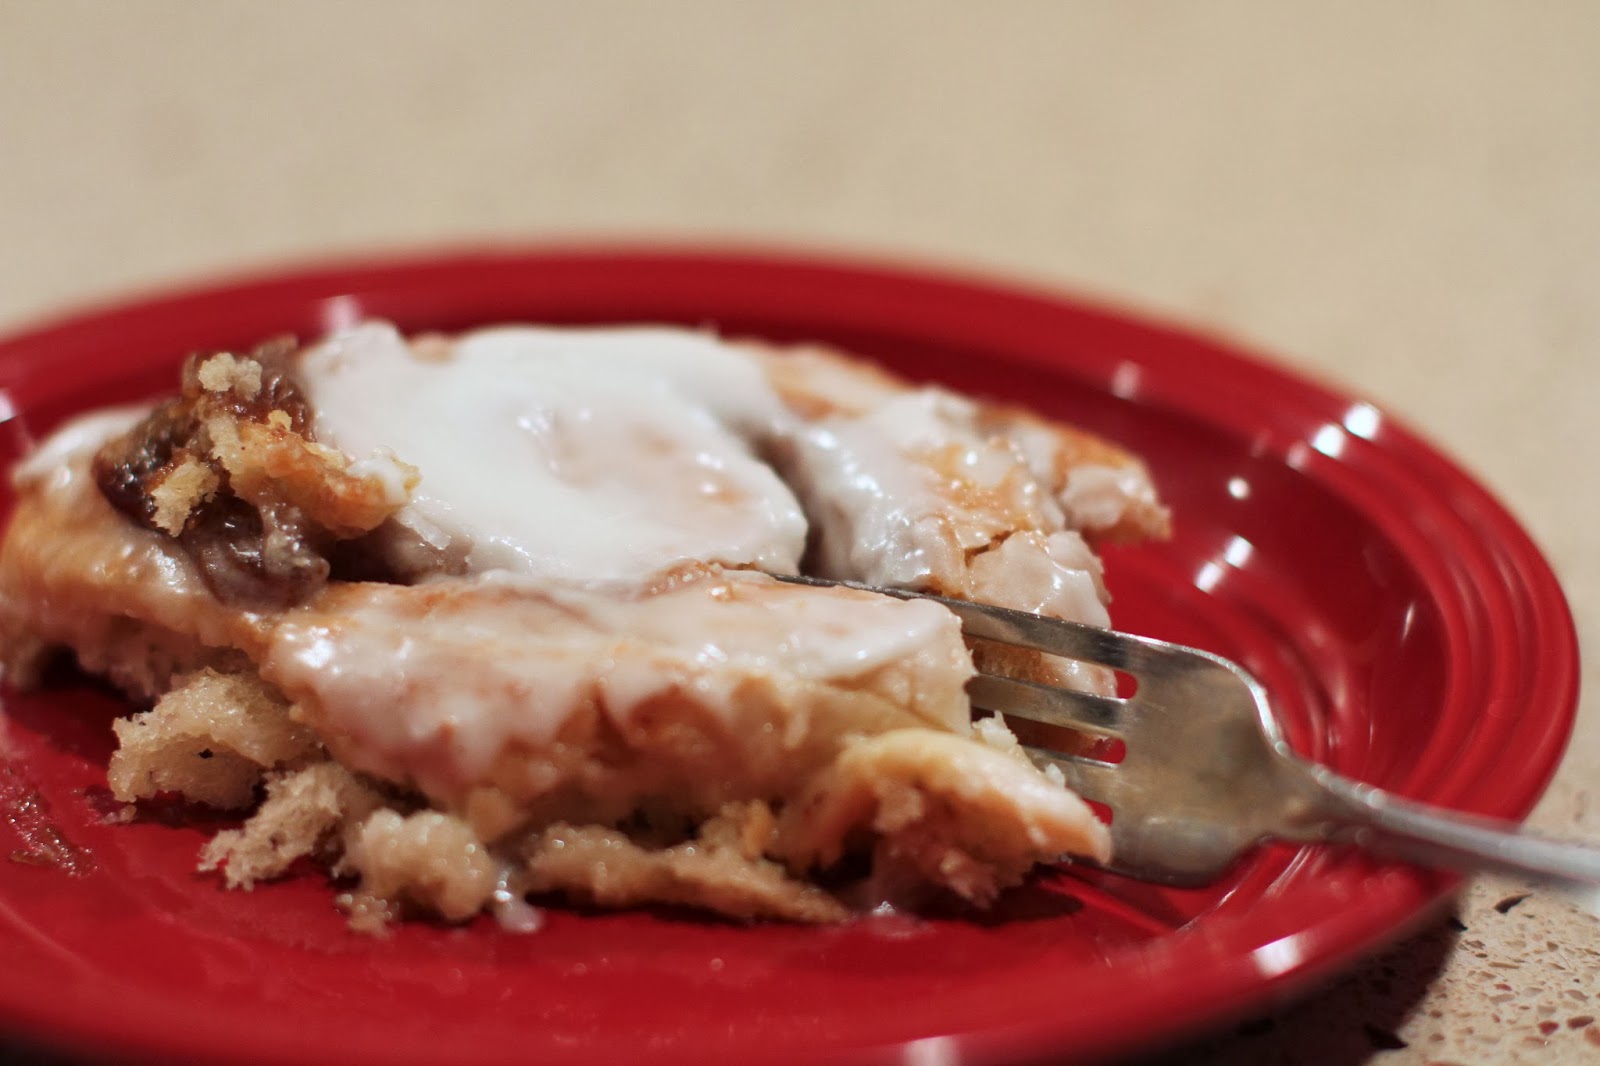
This is cinnamon roll is actually huge!
This is a luncheon plate, not a saucer.
And, I ate. It. All.

Whew!
These took a minute to make, but they were so worth it!
Comments