I wasn't sure how to do this on the group, so I am doing a blog post on my personal blog.
THIS IS FOR PRACTICE ONLY - SO NEVER MIND SETTING, EXPOSURE, ETC.
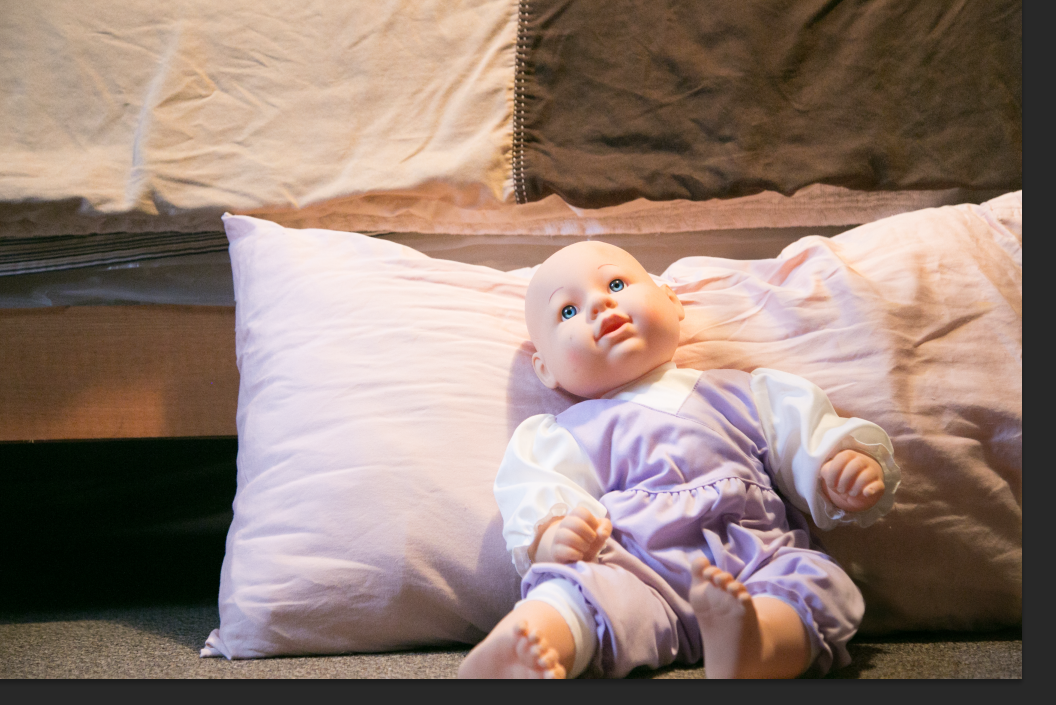
I use a baby doll for lots of things, including practicing on composite editing for those cute newborn sessions. I use her for setting up sessions - I lay her in the set up and check lighting, how it's going to look with a real baby, etc. Dangit, I can't get her in the froggy pose :(
I usually have my husband to hold her head, but he wasn't home today when I decided to do this. However, you can put anything in the photo and work on a composite to remove it. I used the envelope my newly ordered props just arrived in for this one. Hey, it was handy.
As a few on the group will tell you, I also use my 5 lb pomeranian, Meg, as my model sometimes. She hates my camera and usually looks like I'm torturing her, but you gotta do what you gotta do, right?!
First of all, links....these are the two photos I used to make a composite. They are Canon 6D RAW2 files. I have downloaded them to dropbox, so you can download them if you want a quick practice - or take your own and just put something in the photo that you want to remove.
***Since I was working on this photo alone today, and over Christmas, we are repainting my studio, so I used the side of the bed in my spare bedroom and an extra pillow to set the doll up. I didn't take my lights and all that in there, so you'll just have to work with that I've got on hand. LOL
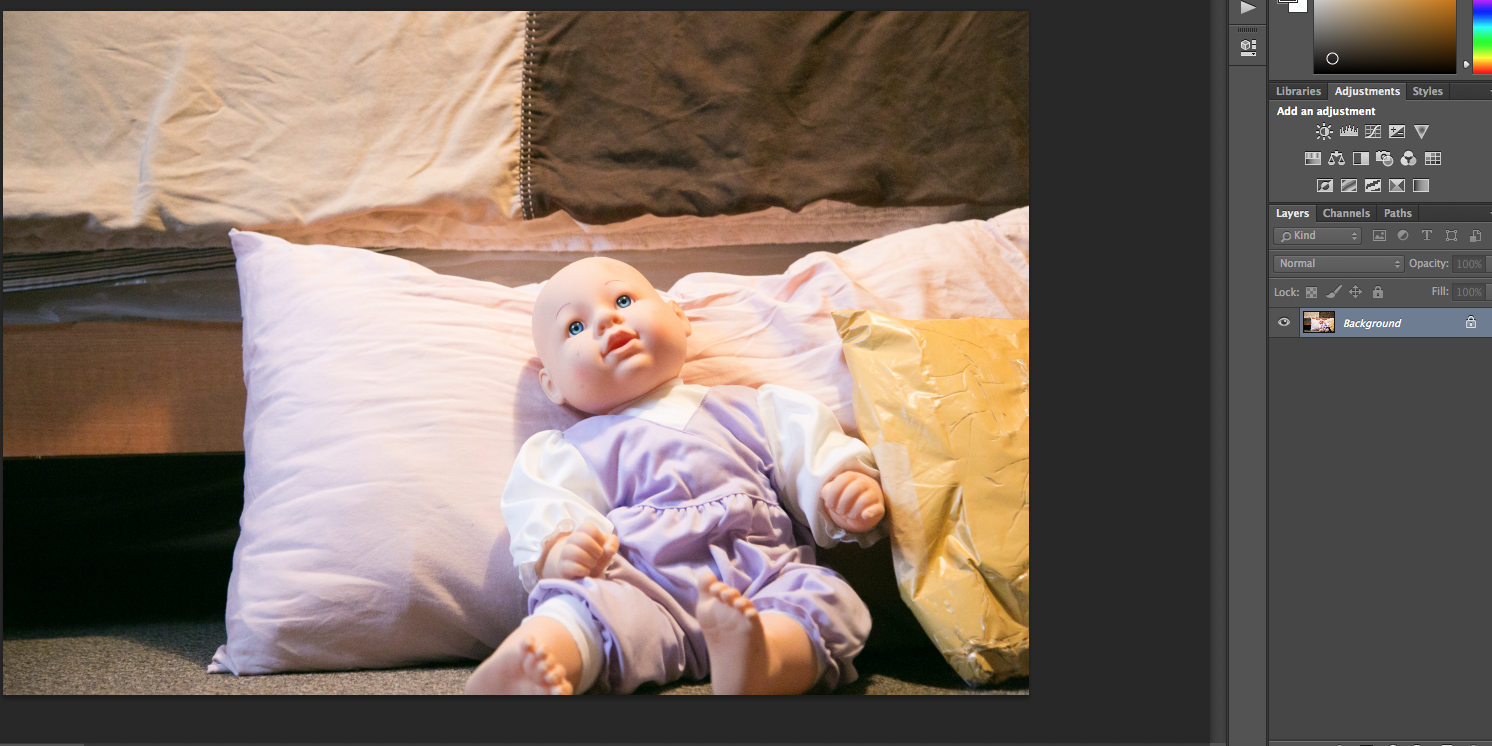
Step 1: Open image one in PS

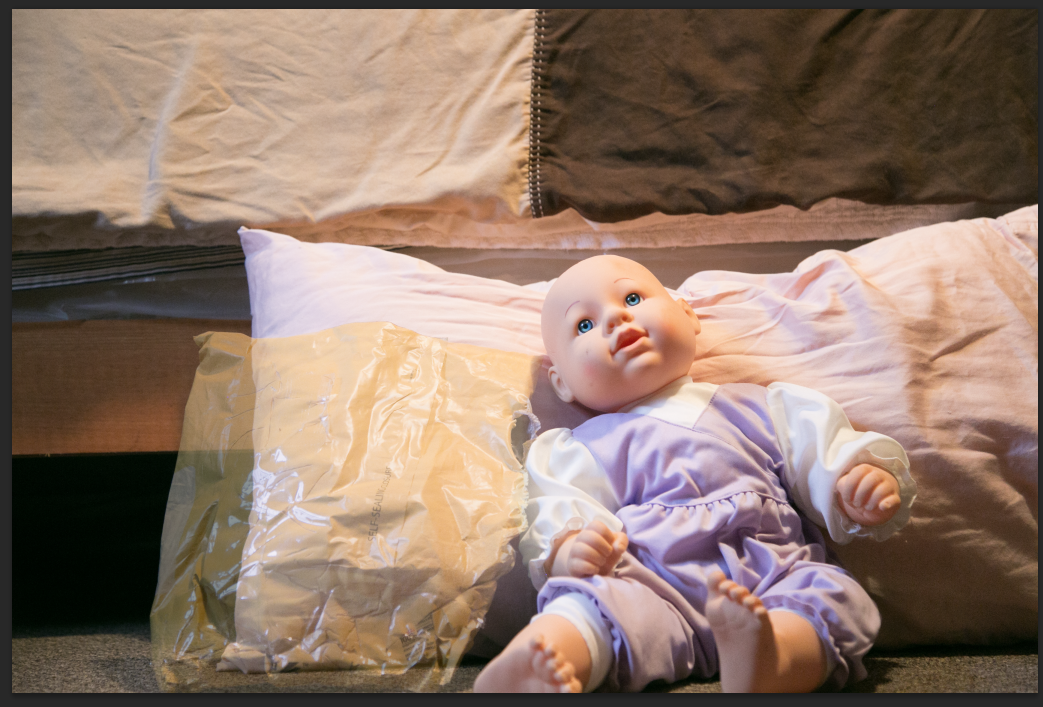
Step 2: Open image two in PS
Step 3: Go to image two, on the top of your screen, between "Type" and "Filter", you'll see "Select". Click on "Select" and then on "All". Go to image one and click "Edit" (at the top) and "paste". This places image two over image one.
It will look like this.

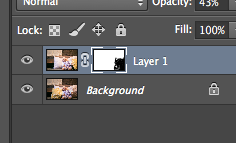
Step 4: Add a layer to image two (not the background image) and lower the opacity to where you can see both images on your screen (will look like the above photo). I lowered to 43% because I could see fairly clearly where I needed to work.
Use your "move" tool to position and line up the faces on the two images.

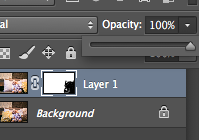
Step 5: Use your brush at 100% opacity and on BLACK (to remove) ***white adds, black removes*** and brush over the area that you want to remove. Raise and lower the opacity to make sure you're getting it all. Basically, you're going to see image one with the envelope hidden by image 2 on top of it.
You're mask layer will be black where you erased. Like this:
Step 6: Raise the opacity back up to 100% - zoom in and make sure you got everything removed that you want to remove.
Ta-Da!
Composite complete!
This will be a super easy composite since the baby doll can't move. A real baby can move just a smidge and you'll have your work cut out for you. Also, note, removing an assistant's hand will require quite a bit more fine tuning. BUT, if you are just learning how to do a composite or just wanting to practice....knock yourself out!
Next....buy yourself a baby doll (or swipe one from your kid's toy box) and have somebody hold the head on top in one shot and underneath in another.
Have fun!
Comments